

Hello everyone! so i managed to find a wrecked MS3 in the junkyard the day after i bought my 3. luckily for me, the front and rear sway bars, rear bumper cover, shifter/linkage, MS3 petals, and the rear spoiler were all up for grabs.
Expensive day to say the least. but in the long run cheaper then finding it all seperate.
Lets get started.
*Note* The MS3 spoiler requires a hole to be drilled into your hatch and some clips to be either painted, or filled.
Tools Needed
Scotchbrite Pad
10mm Socket
Wire crimpers and hardware
Paint/Masking tape
Drill with 1/4" bit
Electical Tape

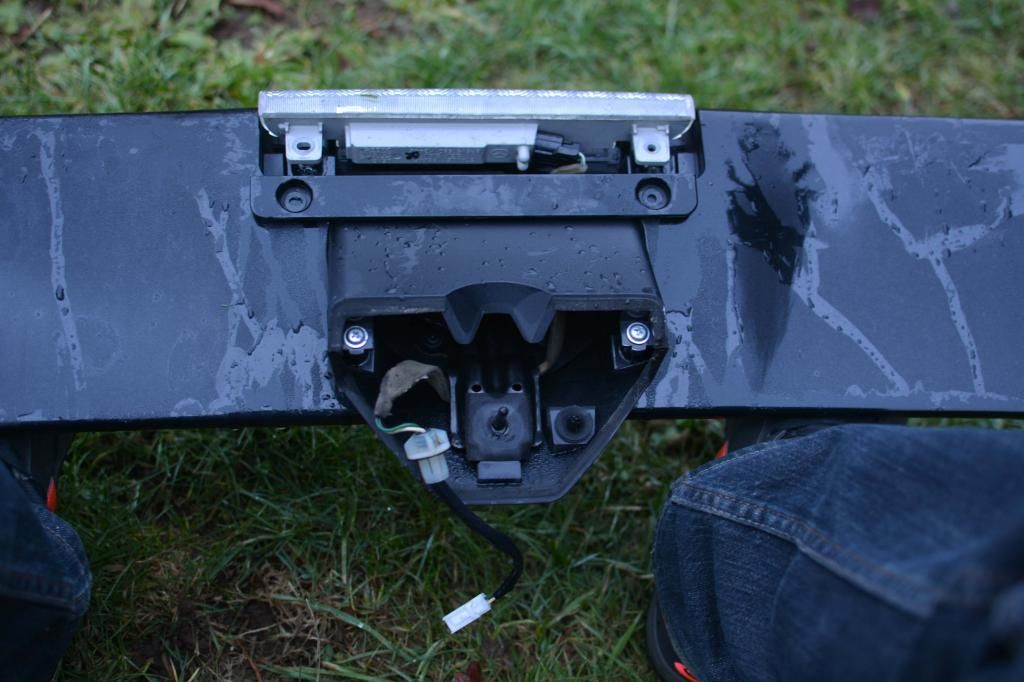
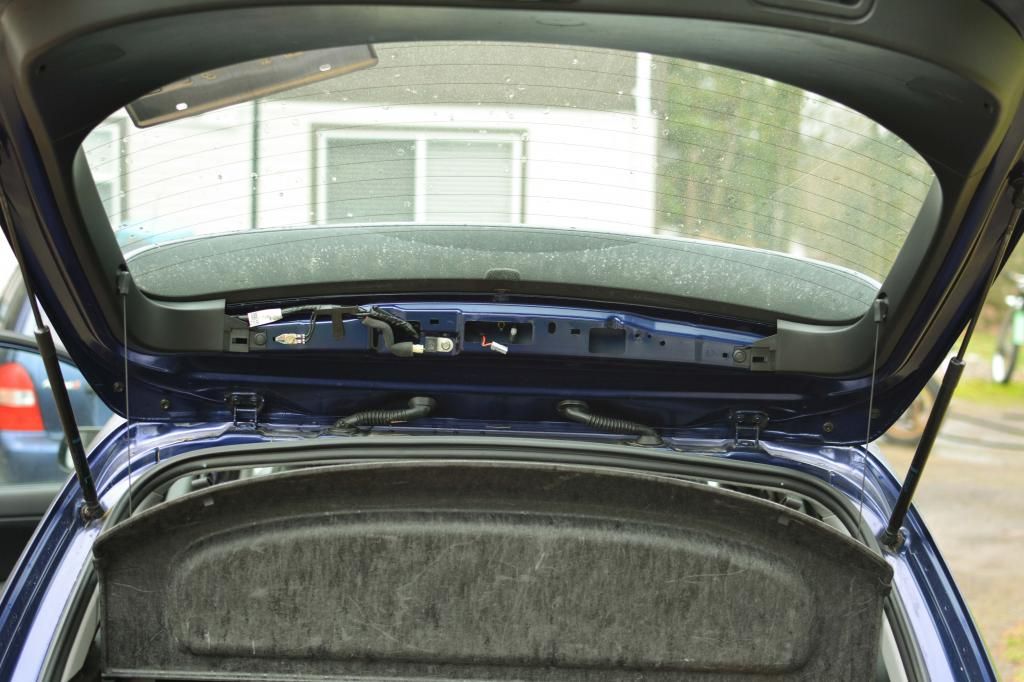
Start by removing the 3rd brake light and set both the trim piece and brake light assembly aside.
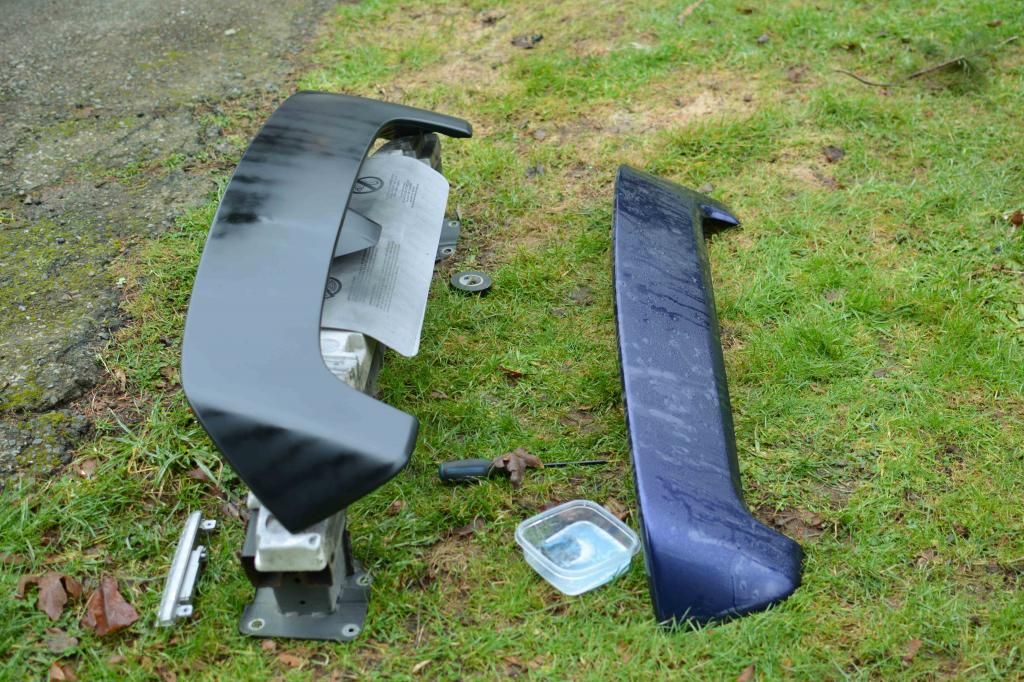
With my new spoiler and that trim piece you just removed, i used a spent scotchbrite pad to scuff up the paint. I have plans to paint the bumper cover later. at that time the spoiler will be painted too, so for now black it is.
My buddy and I would always use these scotchbrites for paining over finished surfaces. It creates small pockets for the new paint to stick to, and isn't aggressive enough that It gouges the paint.
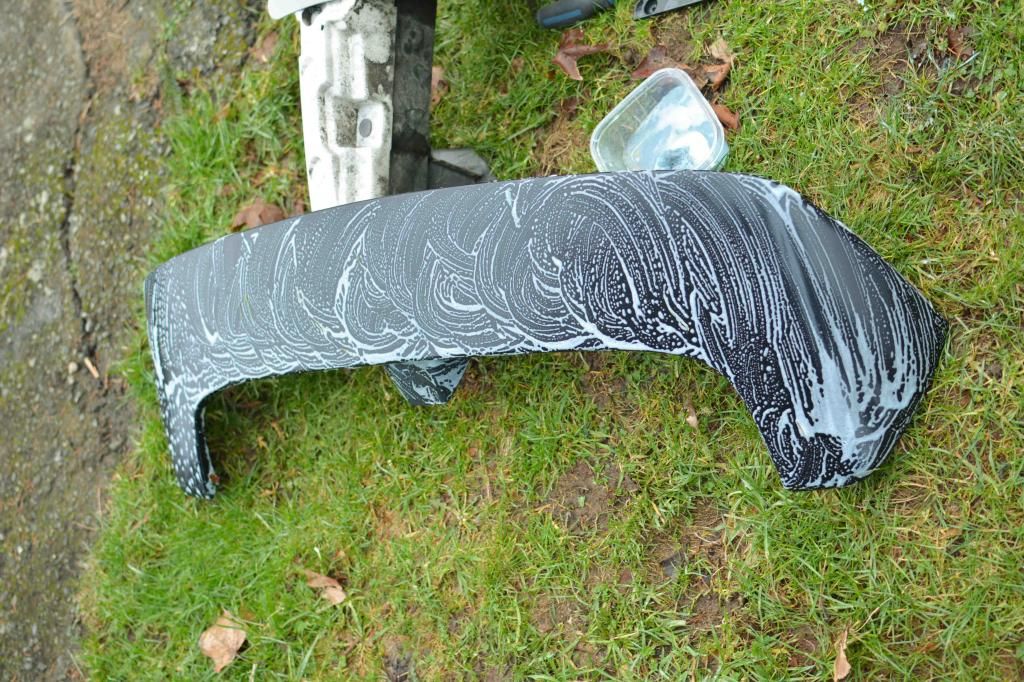
Set the spoiler off to dry.
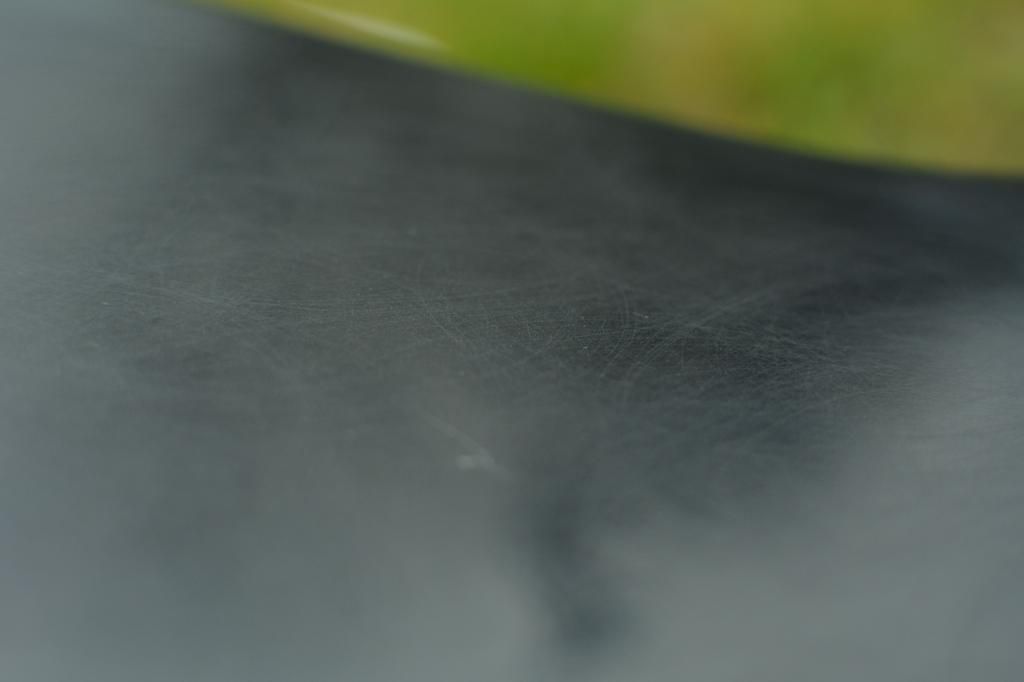
Once dried, the spoiler will be clean and ready for paint. Watch where you place your fingers when moving it around, the oil from your fingers may rub off on unpainted surface and cause frustration after your first coat. (past experience). Note the paint finish in the second photo, Its exactly what i was looking for
In between coats of paint, move onto dismantling the interior and the stock spoiler.
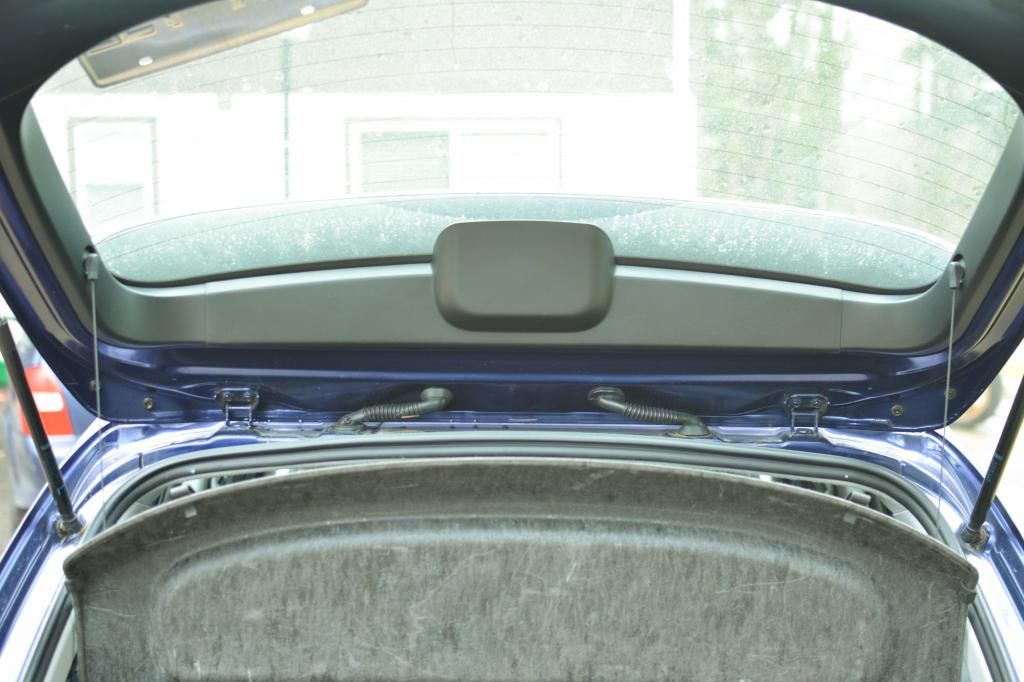
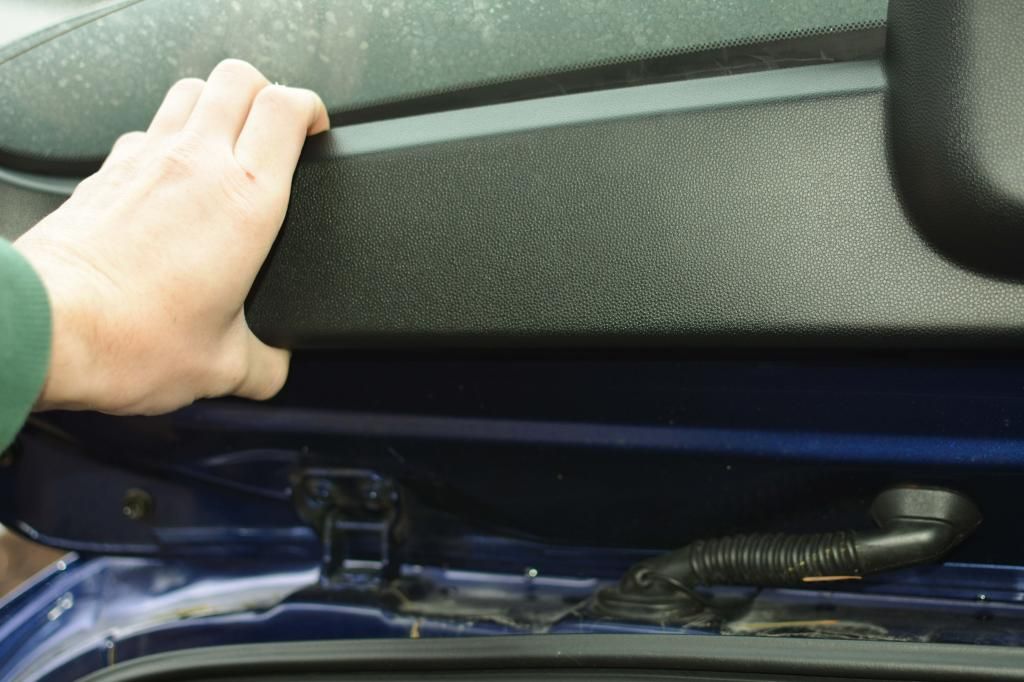
The center trim is the only trim piece you have to remove, pull on one side, then the other, then once you have both sides popped, place both your hands on the top and bottom of the trim piece and gently but firmly rock it back and forth, untll it pops free from its 2 clips
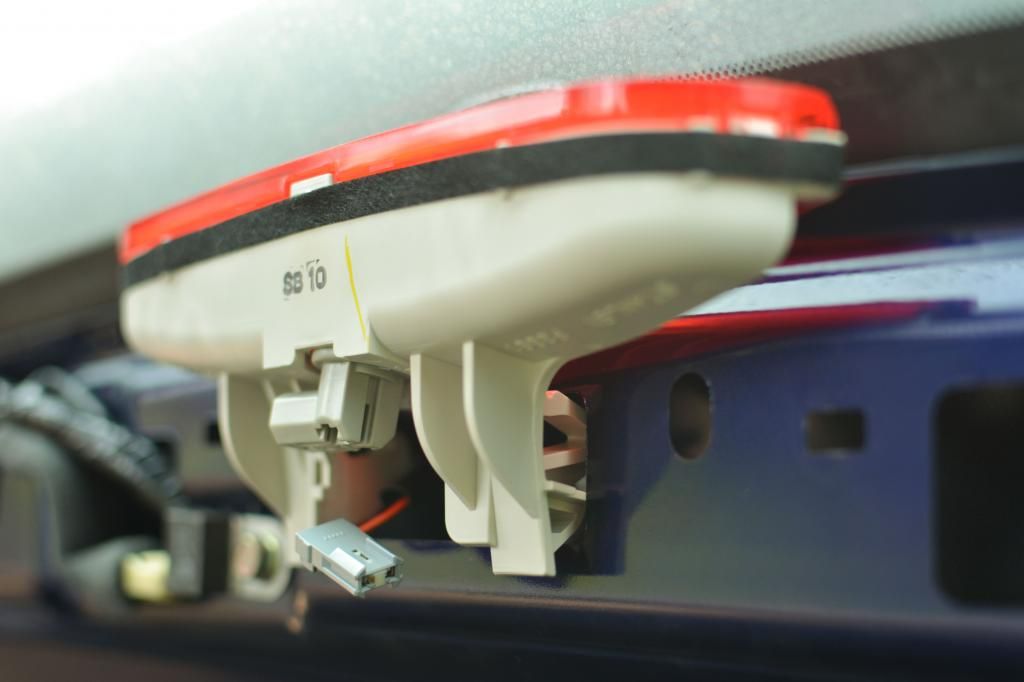
The 3rd brake light is held in by 2 big wedge clips, they are simple to remove, start from the bottom to move the plastic piece past the retaining notch
From there, you will have 4 10mm bolts to remove, and 1 10 mm nut. There are two bolts on either side of the hatch, remove those now, and finally the 10mm nut that was hidden behind the 3rd brake light
Depending oh how tacky the tape still is around your spoiler, it may be a tedious process to separate the tape from the paint of the car, there are also two clips on the center of the spoiler, again, gently and firmly keep rocking the spoiler till it pops free, i didnt use any tools for leverage
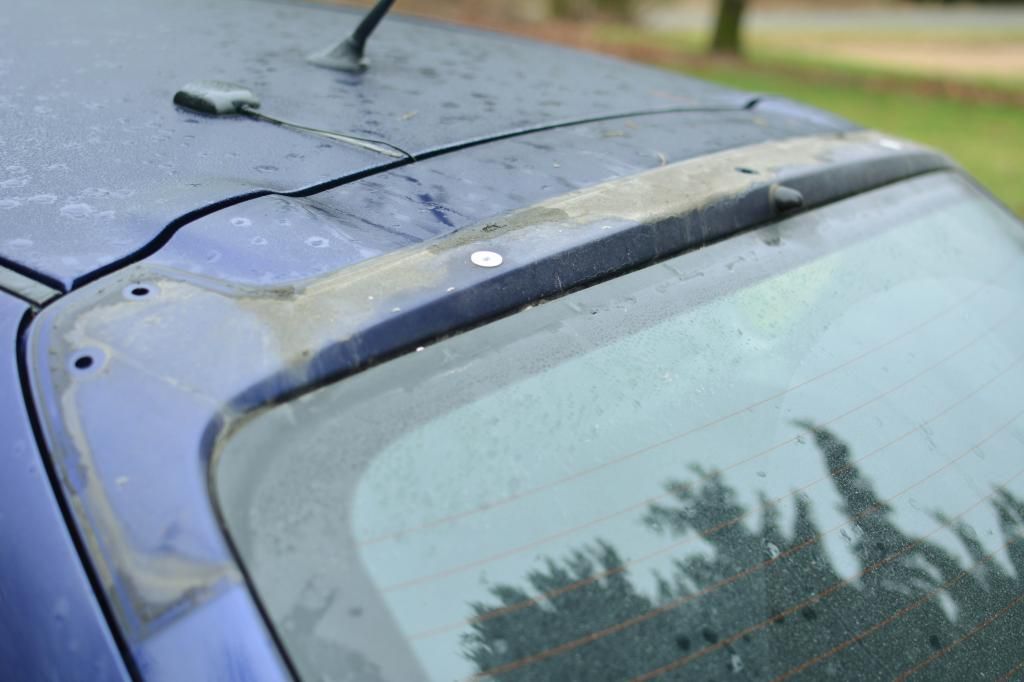
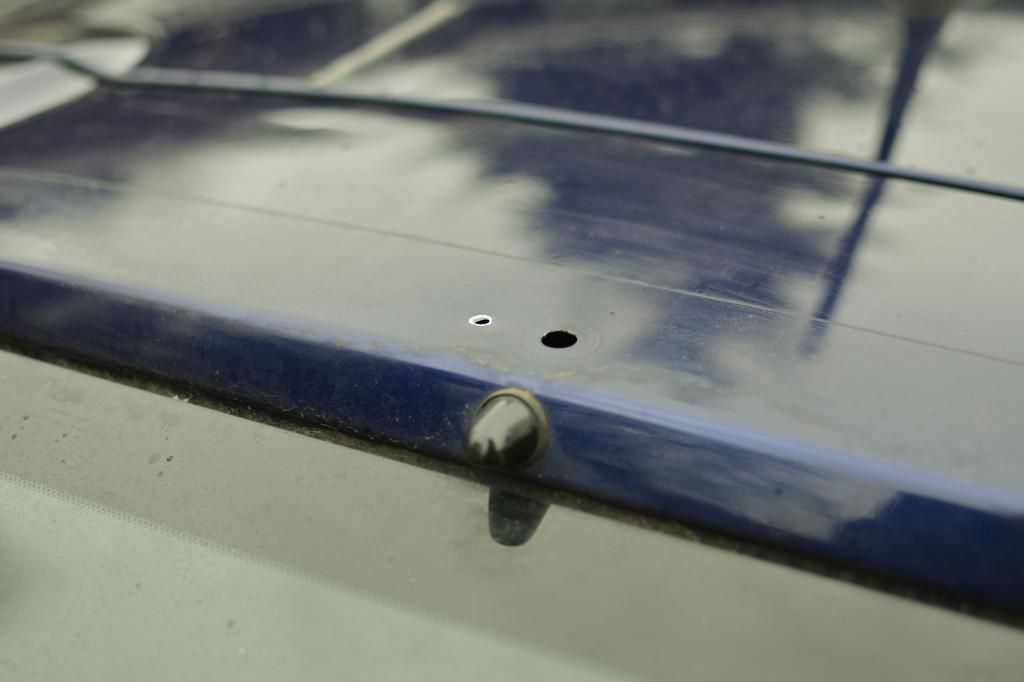
Now, do a good clean of the area where your spoiler used to be, it will now all be exposed so make sure to use some bug and tar remover for the stubborn situations. As for those two clips, you have the option of either popping them out and filling them, or painting them black (like I did).
*Note* from my inspection those clips WILL let water in. Caulk up those edges with clear silicone.
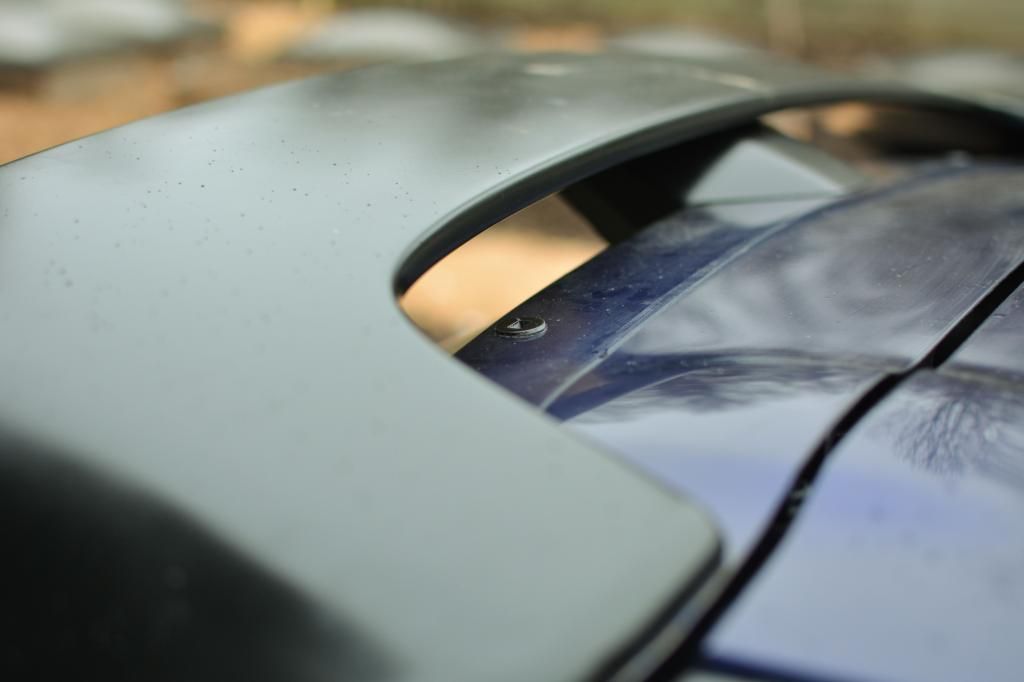
The next step is open for discussion what to do. I chose to drill a new hole for the MS3 brake light wires to pass through, I didn't really see a different option upon dry fitment.
Be sure to paint around the fresh hole for rust prevention
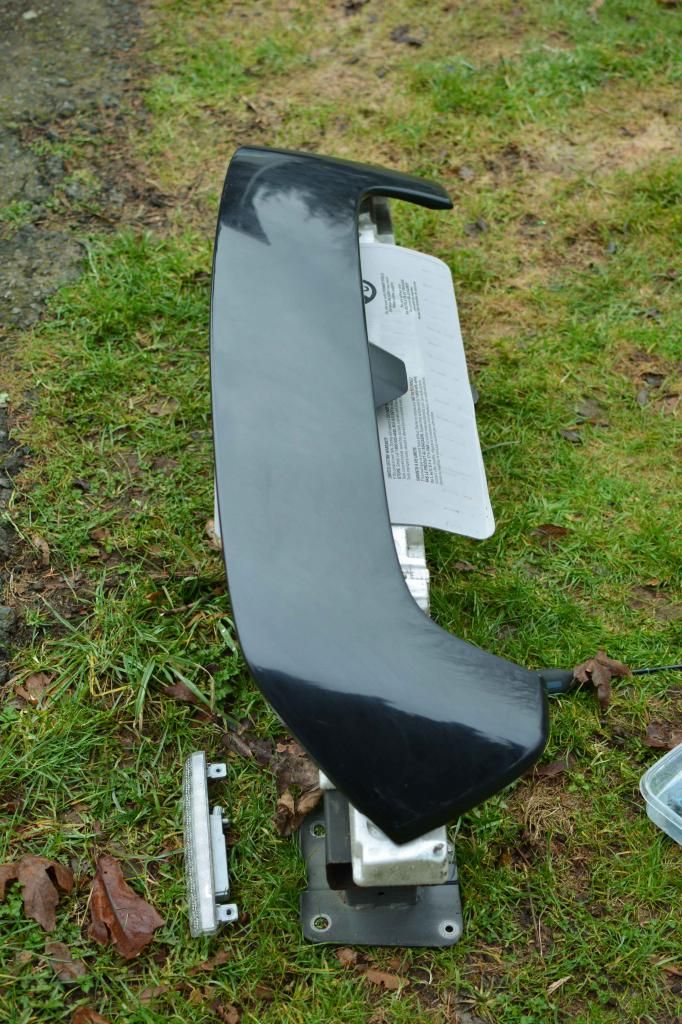
Now, reassemble the MS3 spoiler once your satisfied by your paint job.
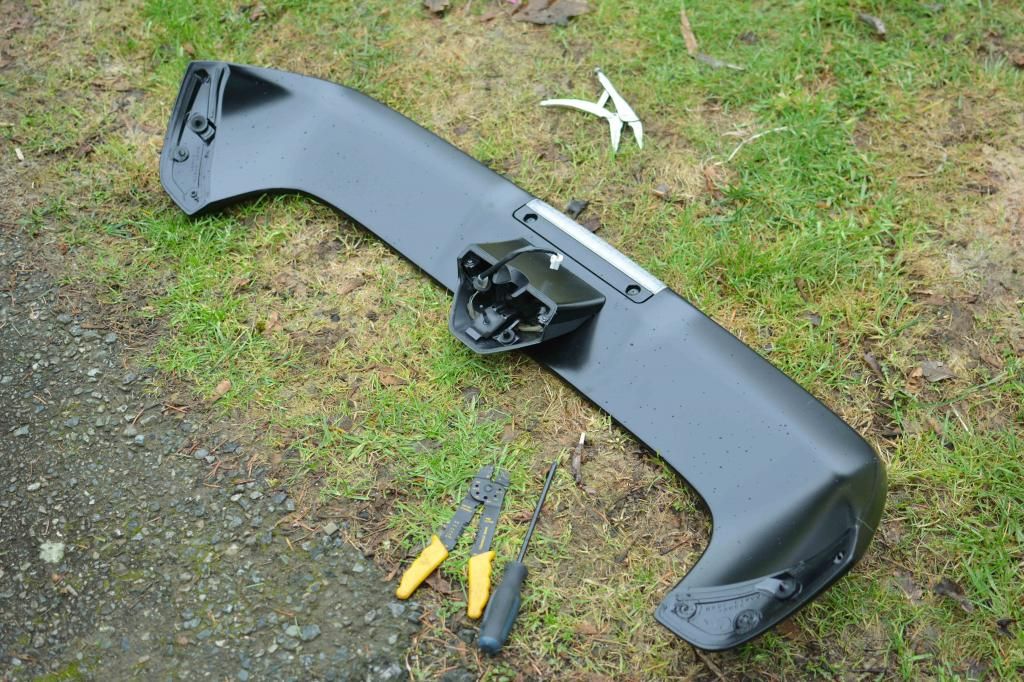
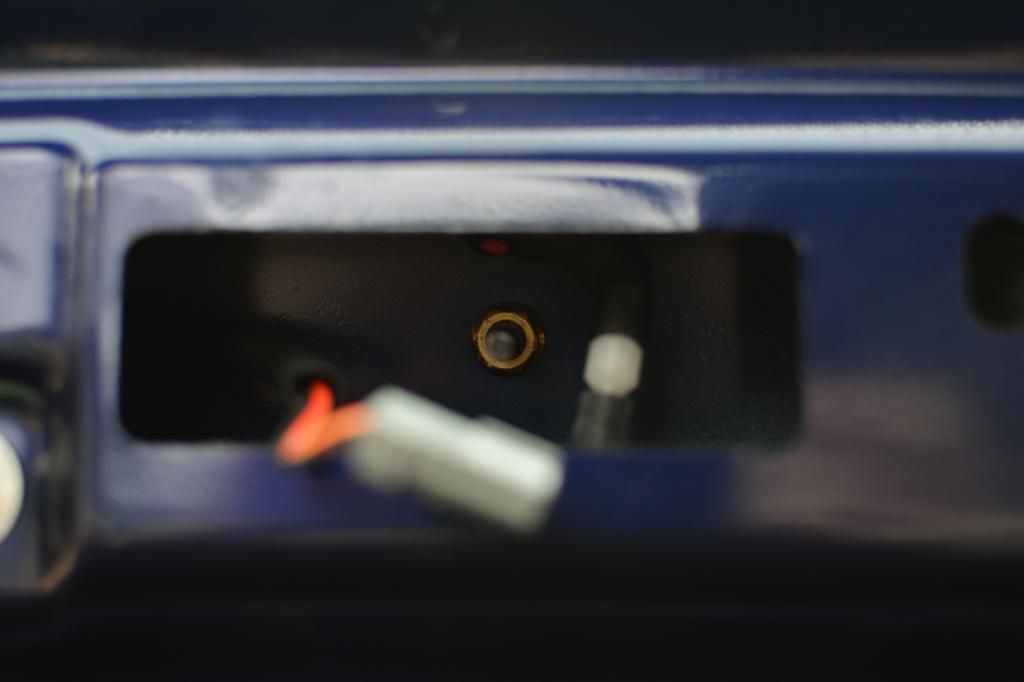
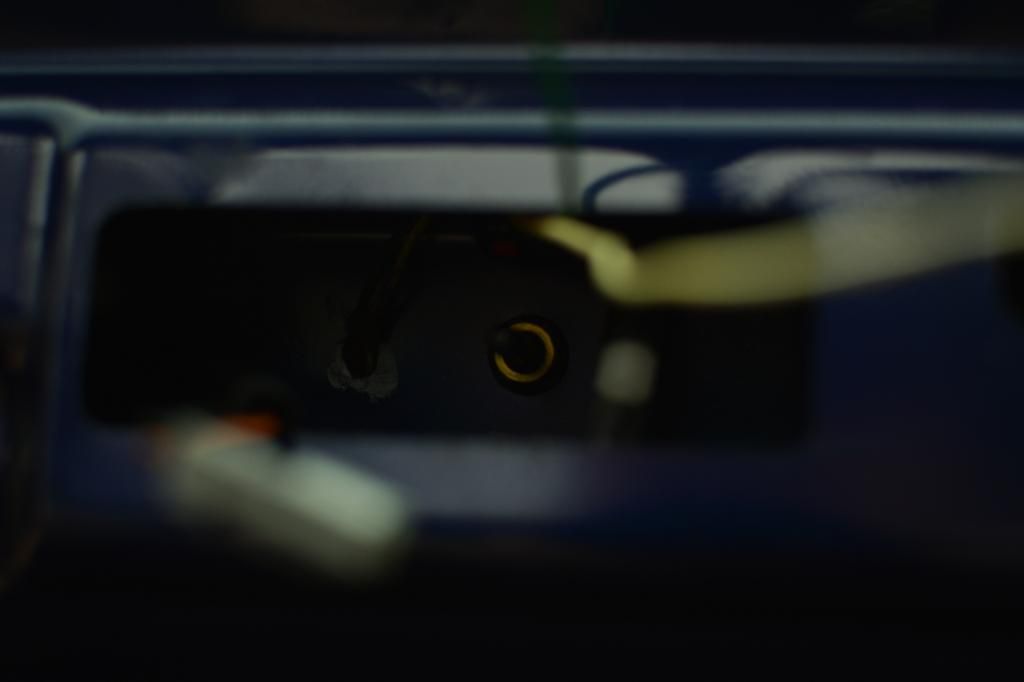
*Note* i had an issue here with the spoiler harness. I chose to snip the harness off to feed the wires through the hole i just drilled and then go about attaching to the gen1 harness. I forgot to grab the MS3 harness. Easy fix. Tape both connectors to prevent any shorting if you went this route

be sure to caulk the hole that you have fed the wires through the hatch for water protection.
Now reassemble everything!
*Note* I forgot to grab the trim piece from the MS3 for the center piece for the hatch. so for now i left it with the stock 3rd brake until i can delete it when I make my way back to the junkyard.
Shut your hatch, test the third brake light

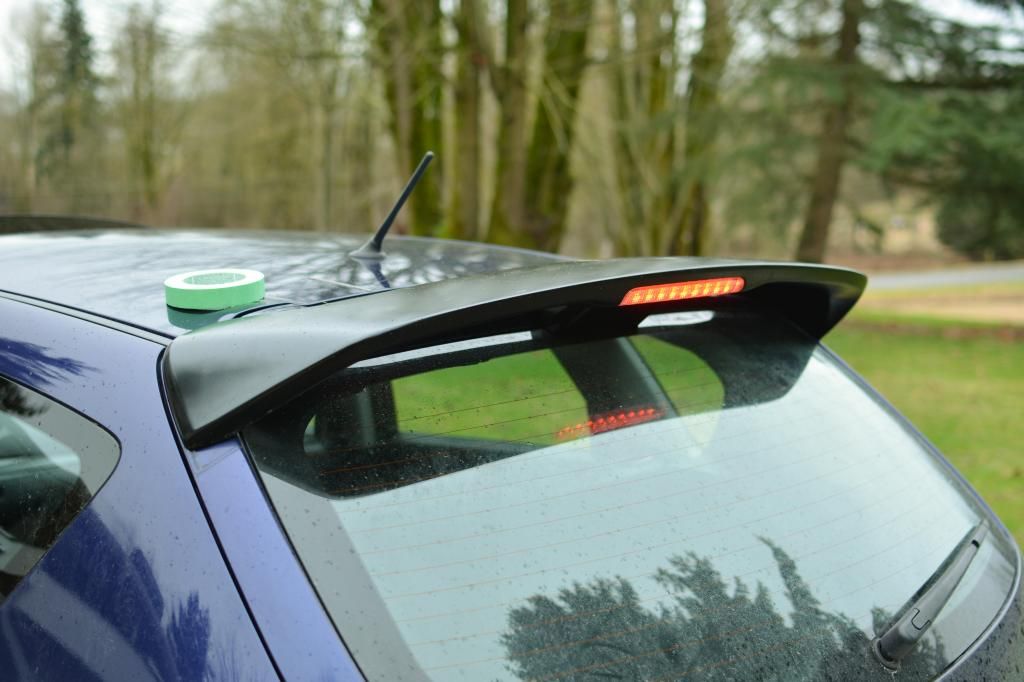
BAM!
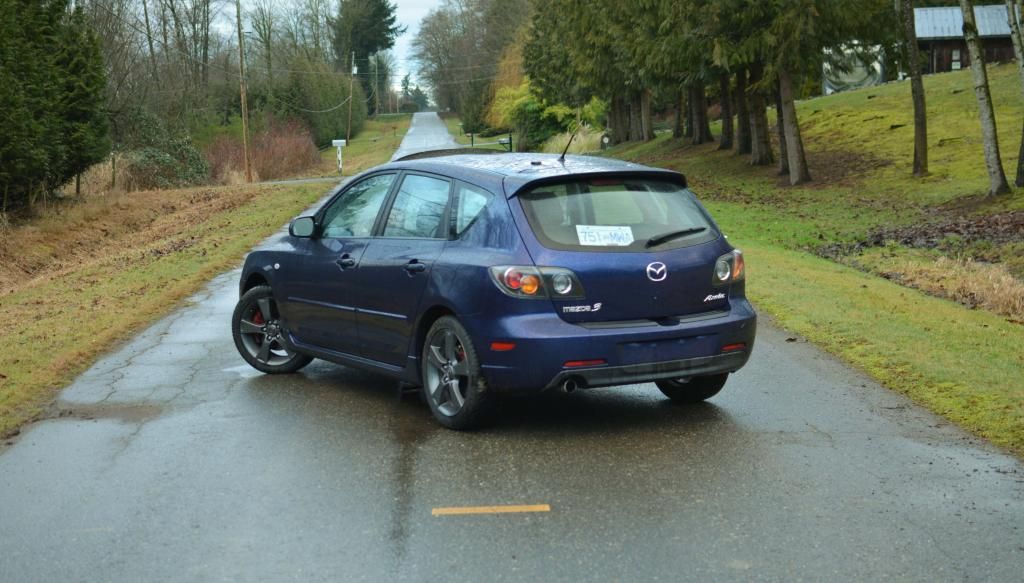
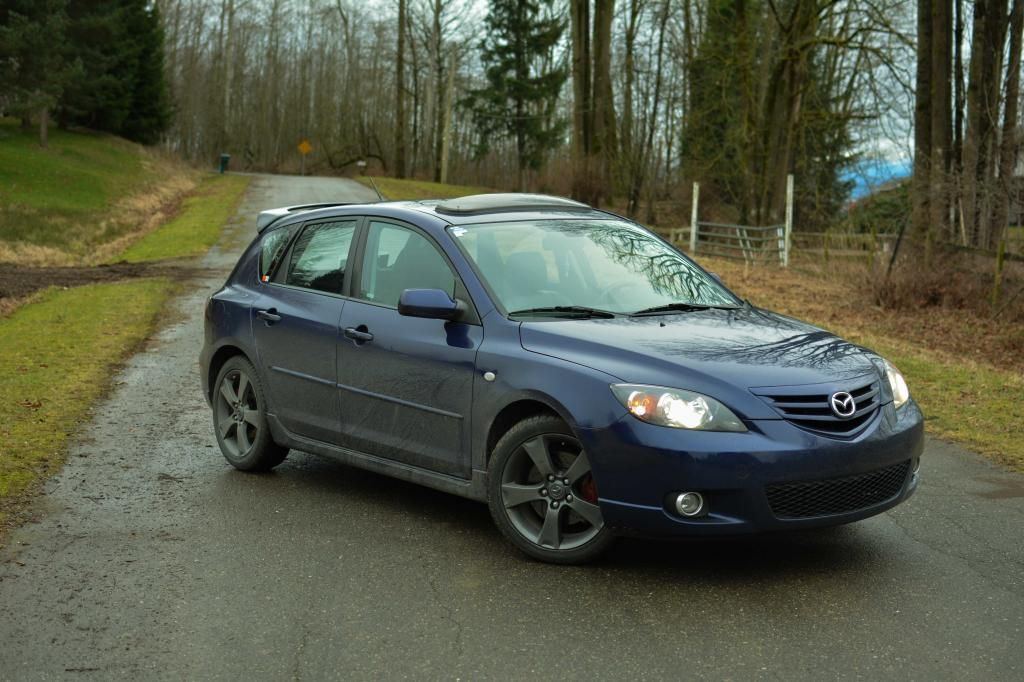
Before:
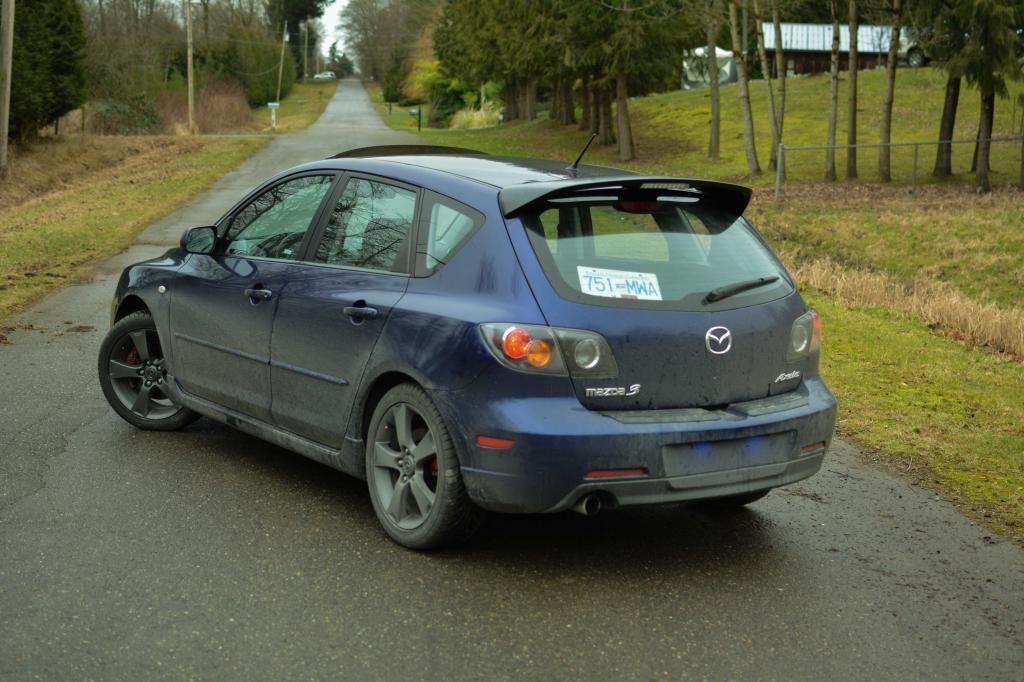
After:
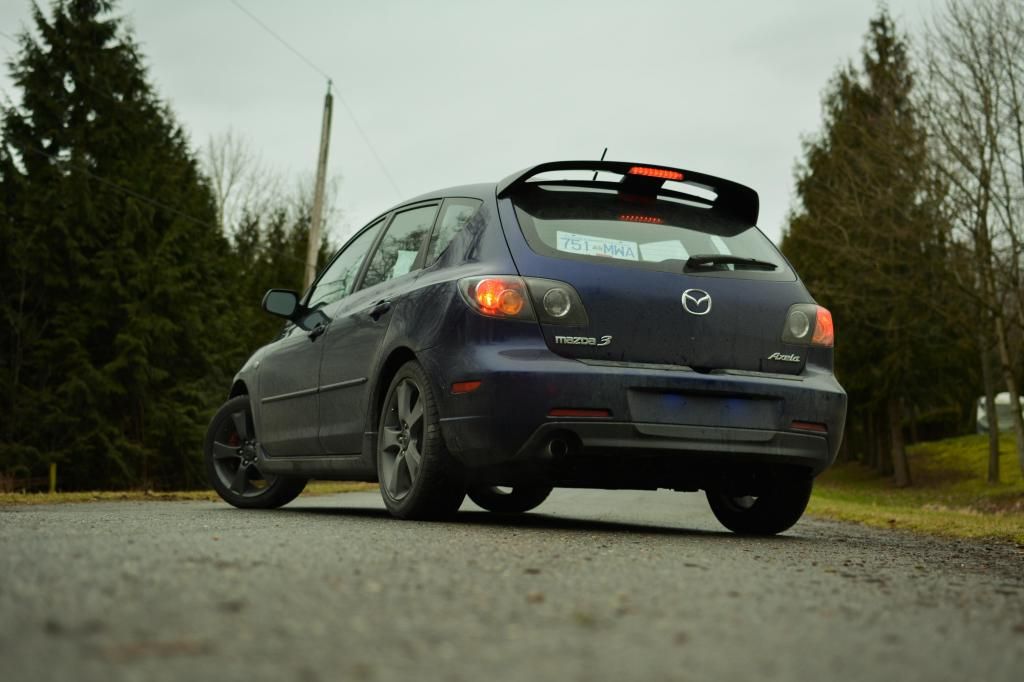
Hope this how-to helps someone out, Its my first visual mod on the car and it looks awesome! Good luck!
-Chris
Expensive day to say the least. but in the long run cheaper then finding it all seperate.
Lets get started.
*Note* The MS3 spoiler requires a hole to be drilled into your hatch and some clips to be either painted, or filled.
Tools Needed
Scotchbrite Pad
10mm Socket
Wire crimpers and hardware
Paint/Masking tape
Drill with 1/4" bit
Electical Tape

Start by removing the 3rd brake light and set both the trim piece and brake light assembly aside.

With my new spoiler and that trim piece you just removed, i used a spent scotchbrite pad to scuff up the paint. I have plans to paint the bumper cover later. at that time the spoiler will be painted too, so for now black it is.
My buddy and I would always use these scotchbrites for paining over finished surfaces. It creates small pockets for the new paint to stick to, and isn't aggressive enough that It gouges the paint.

Set the spoiler off to dry.

Once dried, the spoiler will be clean and ready for paint. Watch where you place your fingers when moving it around, the oil from your fingers may rub off on unpainted surface and cause frustration after your first coat. (past experience). Note the paint finish in the second photo, Its exactly what i was looking for


In between coats of paint, move onto dismantling the interior and the stock spoiler.

The center trim is the only trim piece you have to remove, pull on one side, then the other, then once you have both sides popped, place both your hands on the top and bottom of the trim piece and gently but firmly rock it back and forth, untll it pops free from its 2 clips

The 3rd brake light is held in by 2 big wedge clips, they are simple to remove, start from the bottom to move the plastic piece past the retaining notch

From there, you will have 4 10mm bolts to remove, and 1 10 mm nut. There are two bolts on either side of the hatch, remove those now, and finally the 10mm nut that was hidden behind the 3rd brake light


Depending oh how tacky the tape still is around your spoiler, it may be a tedious process to separate the tape from the paint of the car, there are also two clips on the center of the spoiler, again, gently and firmly keep rocking the spoiler till it pops free, i didnt use any tools for leverage

Now, do a good clean of the area where your spoiler used to be, it will now all be exposed so make sure to use some bug and tar remover for the stubborn situations. As for those two clips, you have the option of either popping them out and filling them, or painting them black (like I did).

*Note* from my inspection those clips WILL let water in. Caulk up those edges with clear silicone.

The next step is open for discussion what to do. I chose to drill a new hole for the MS3 brake light wires to pass through, I didn't really see a different option upon dry fitment.
Be sure to paint around the fresh hole for rust prevention

Now, reassemble the MS3 spoiler once your satisfied by your paint job.

*Note* i had an issue here with the spoiler harness. I chose to snip the harness off to feed the wires through the hole i just drilled and then go about attaching to the gen1 harness. I forgot to grab the MS3 harness. Easy fix. Tape both connectors to prevent any shorting if you went this route

be sure to caulk the hole that you have fed the wires through the hatch for water protection.

Now reassemble everything!
*Note* I forgot to grab the trim piece from the MS3 for the center piece for the hatch. so for now i left it with the stock 3rd brake until i can delete it when I make my way back to the junkyard.
Shut your hatch, test the third brake light


BAM!
Before:

After:


Hope this how-to helps someone out, Its my first visual mod on the car and it looks awesome! Good luck!
-Chris
")


