

I replaced my cabin air filter today in my 2006 Mazda3. It has 45,000 miles, I've never had this replaced before, I live and drive around Chicago, the car is garage kept. With picture taking, it took about 4 hours. I had searched through these boards in the past to find a good write up on the cabin filter, but no real good one existed. These boards rock when it comes to How-To's so I figured I'd grab my camera, some tools, and document my experience. I had to stop after taking the passenger’s side all apart and re-read some posts because I couldn't find the filter! These boards have helped me with plenty in the past, but have not done too well with the cabin filter. So to you, fellow DIY'ers and forum members, and cabin filter want to replacers, here is YOUR guide:
Tools needed:
1) Philips head screwdriver
2) Flat head screwdriver
3) Long nose pliers
4) 12mm socket head and ratchet with extenders
5) shop-vac
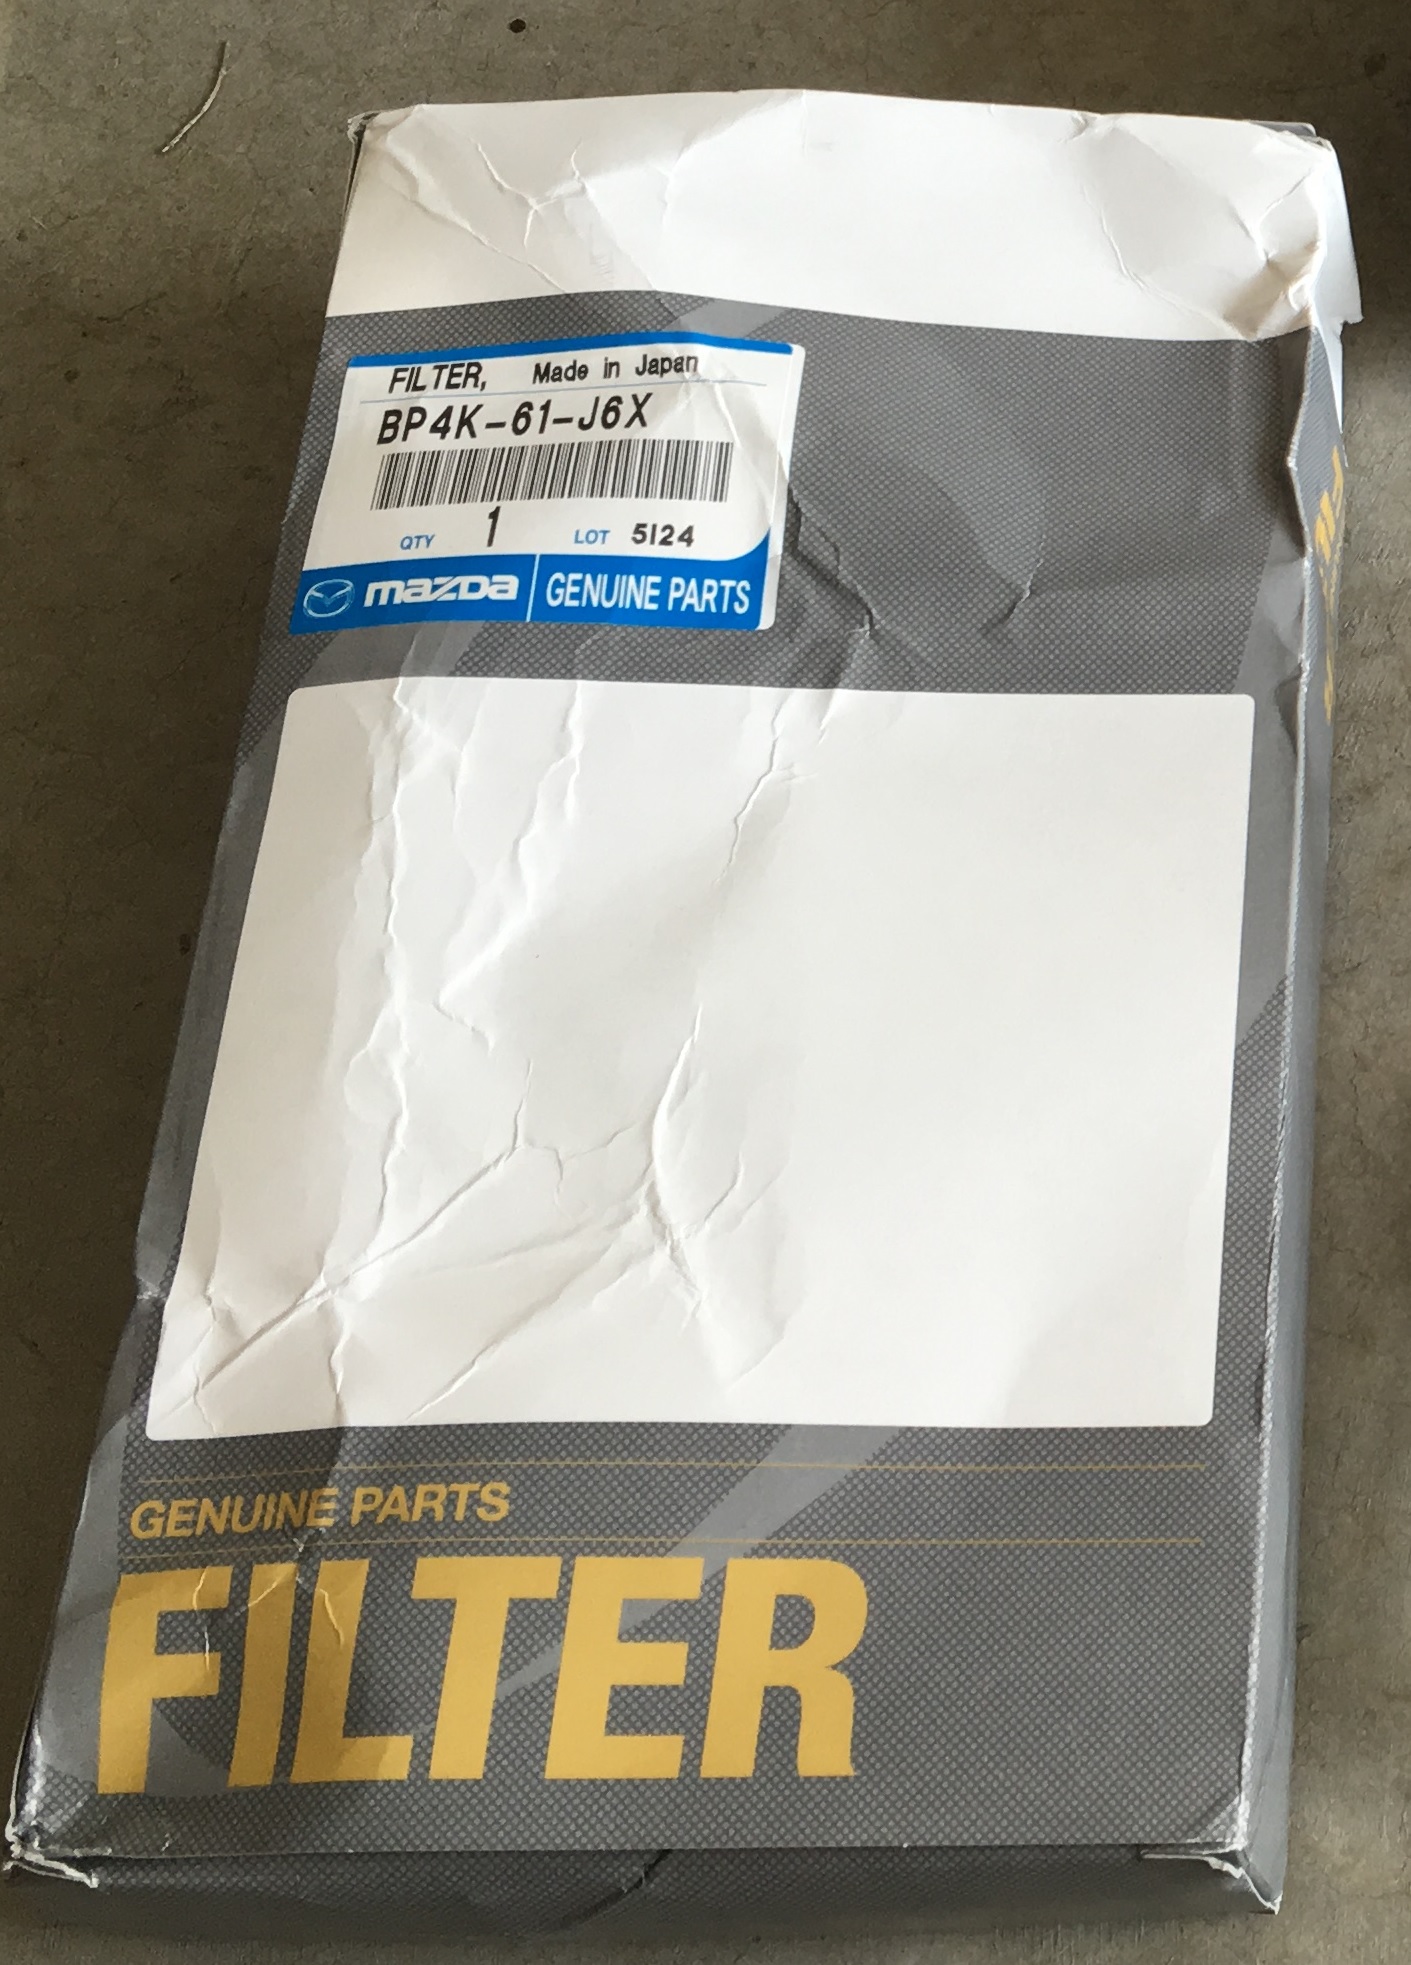
Here's my replacement filter (I paid $37.35 for it at my local dealership):
![Image]()
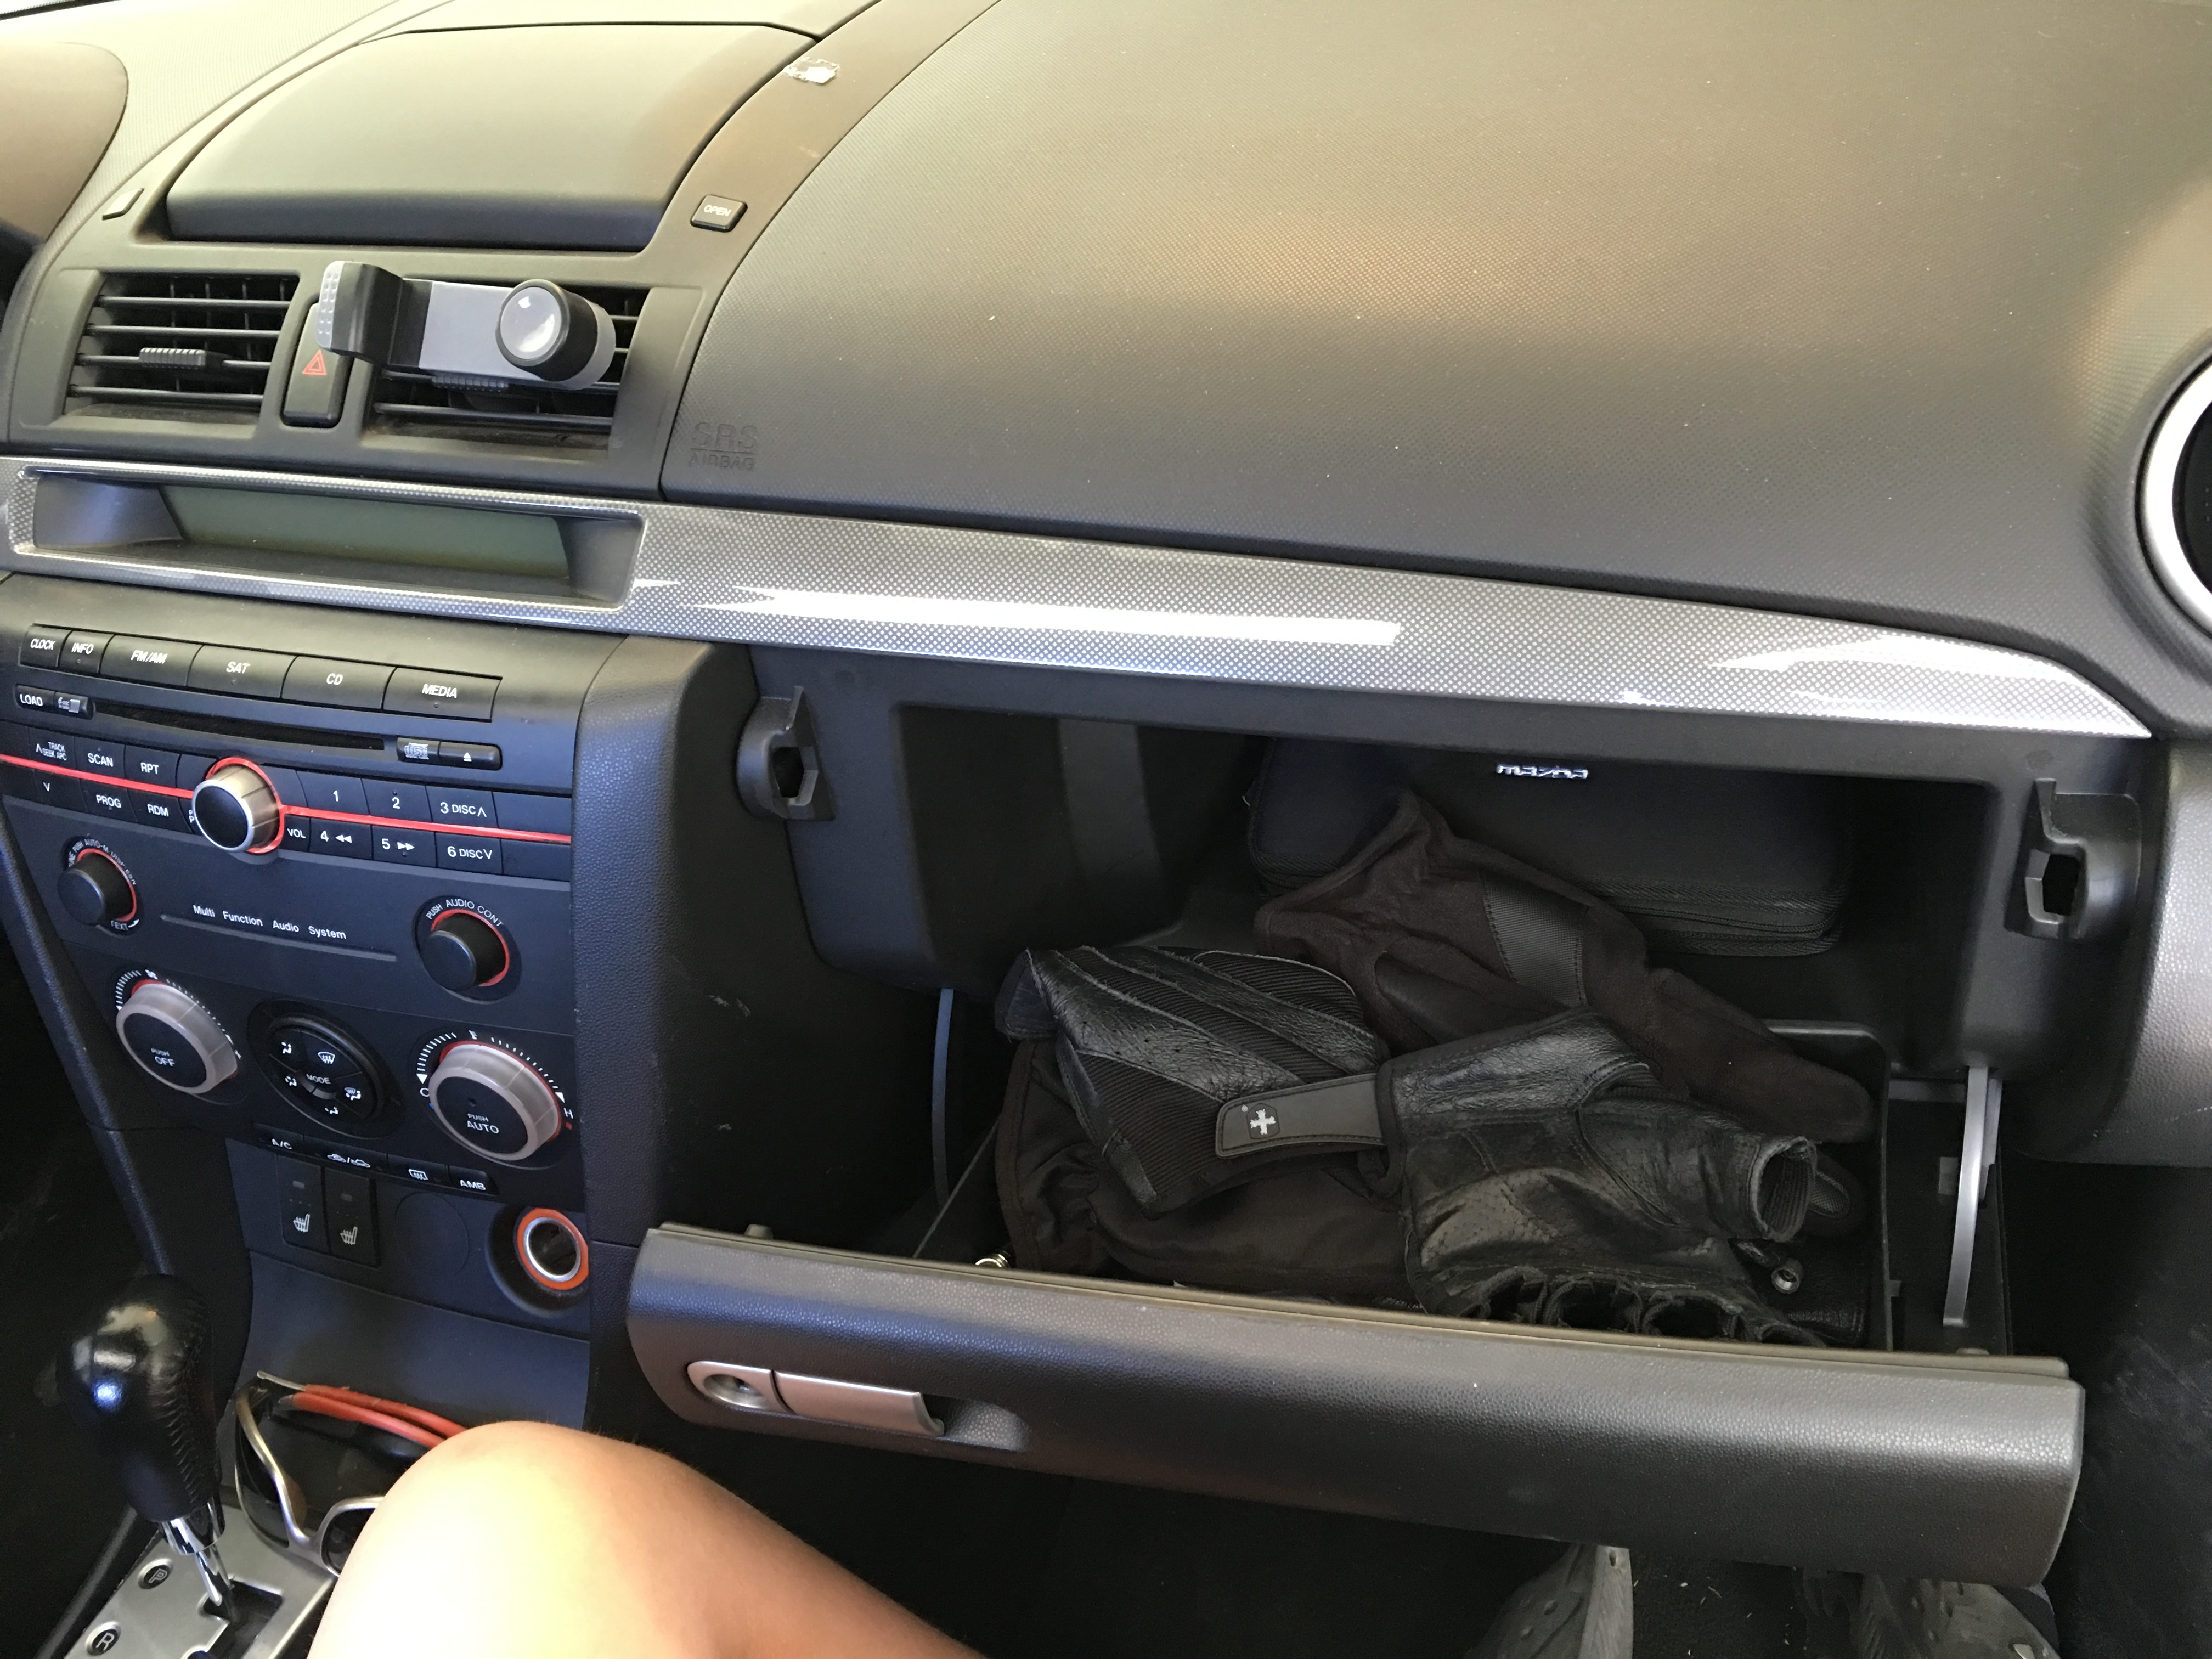
Open the glove compartment door:
![Image]()
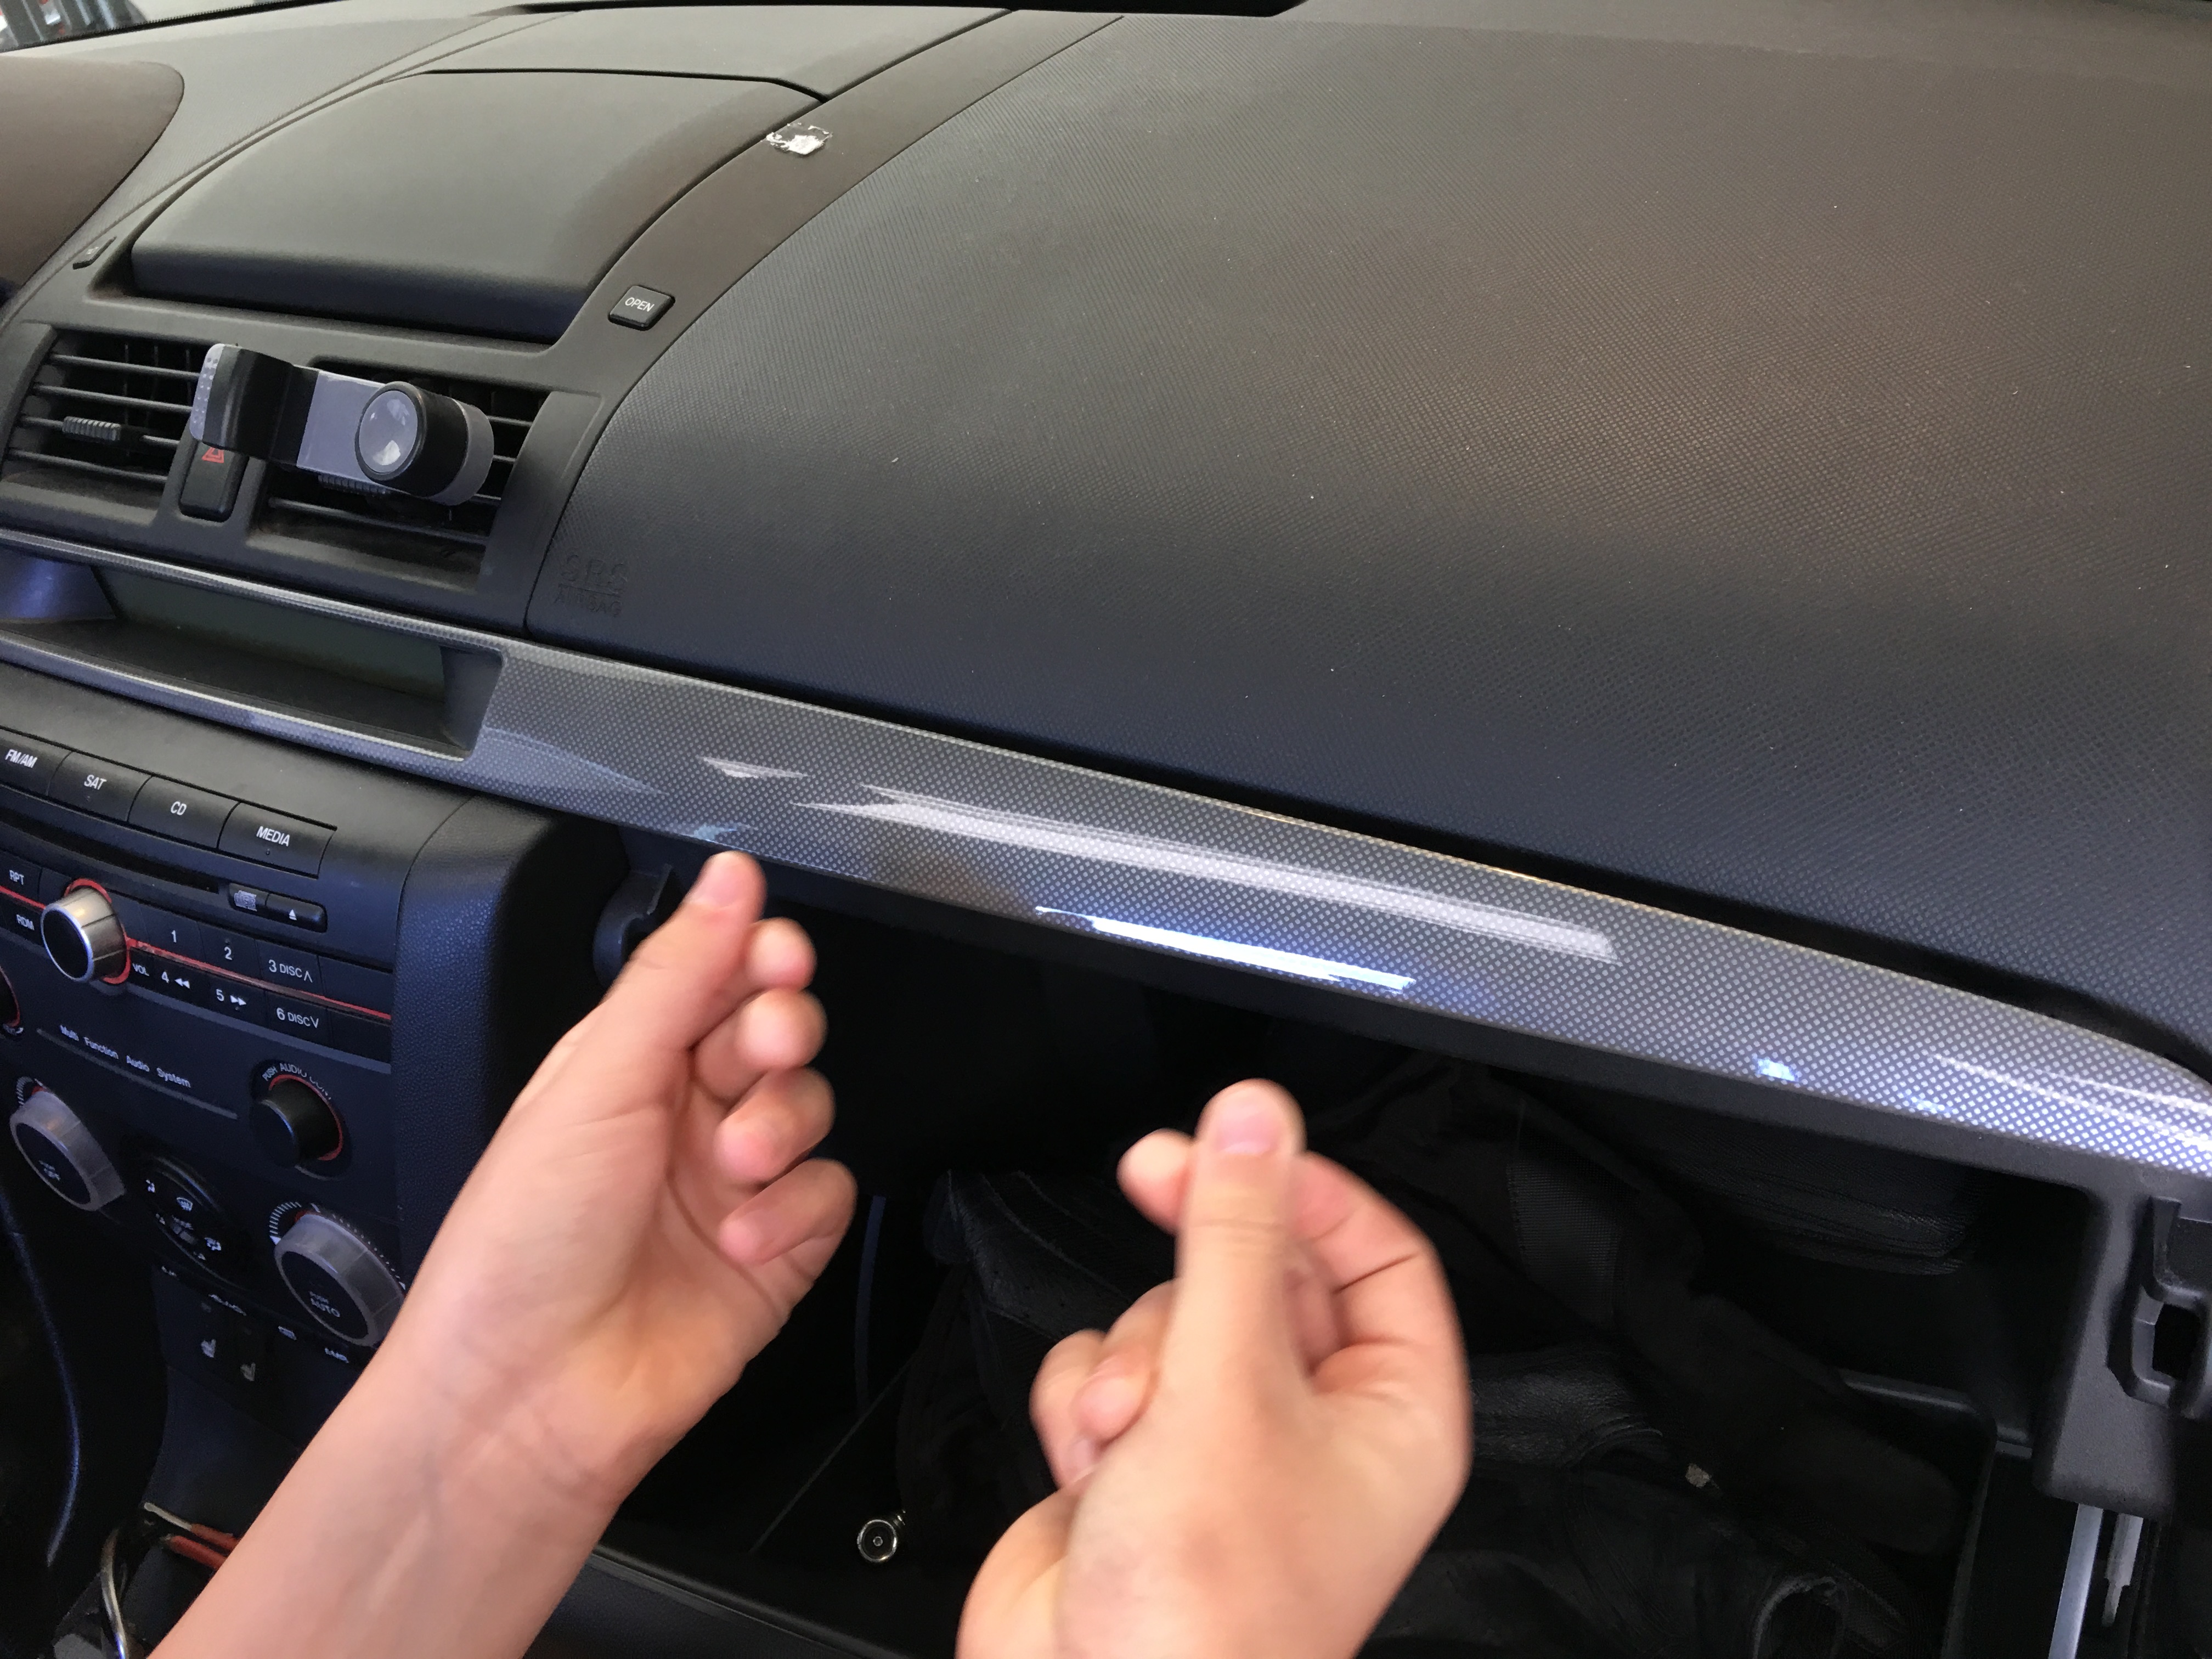
Remove the plastic trim by pulling up underneath the trim from where the glove compartment door closes. NOTE THE HOOK AT THE RIGHT END OF THE TRIM! Don't expect the trim to first pop off from the right because it first pops out from the area over the glove compartment, then bows out, and carefully pull back to completely remove:
![Image]()
Unscrew the two screws with the Philips head:
![Image]()
I have the navigation system, thus the DVD player in the glove compartment makes this next step pretty difficult. You'll have to first pull out and down from the top of the glove compartment and carefully wiggle out:
![Image]()
Once unlatched, you'll notice the lamp. I unscrewed it out:
![Image]()
There a plastic cover, right above the passenger's feet, that's held up by two tabs. Tough to explain, but too easy to remove. Push the two tabs towards the front of the car, pull down, viola:
![Image]()
There another plastic cover to the feet's left:
![Image]()
Use the flat head to pry the center plug a bit. CAREFUL, don't pry the outside plug or you'll risk scratching everything and not accomplishing anything:
![Image]()
There two twist plugs holding up the fuse box. Give each about 1 turn and the fuse box is loose:
![Image]()
Unplug each of the connectors to the fuse box by turning the black loop by 180 degrees. This was a bit tricky, but once you see how it works, it's a piece of cake to do the rest:
![Image]()
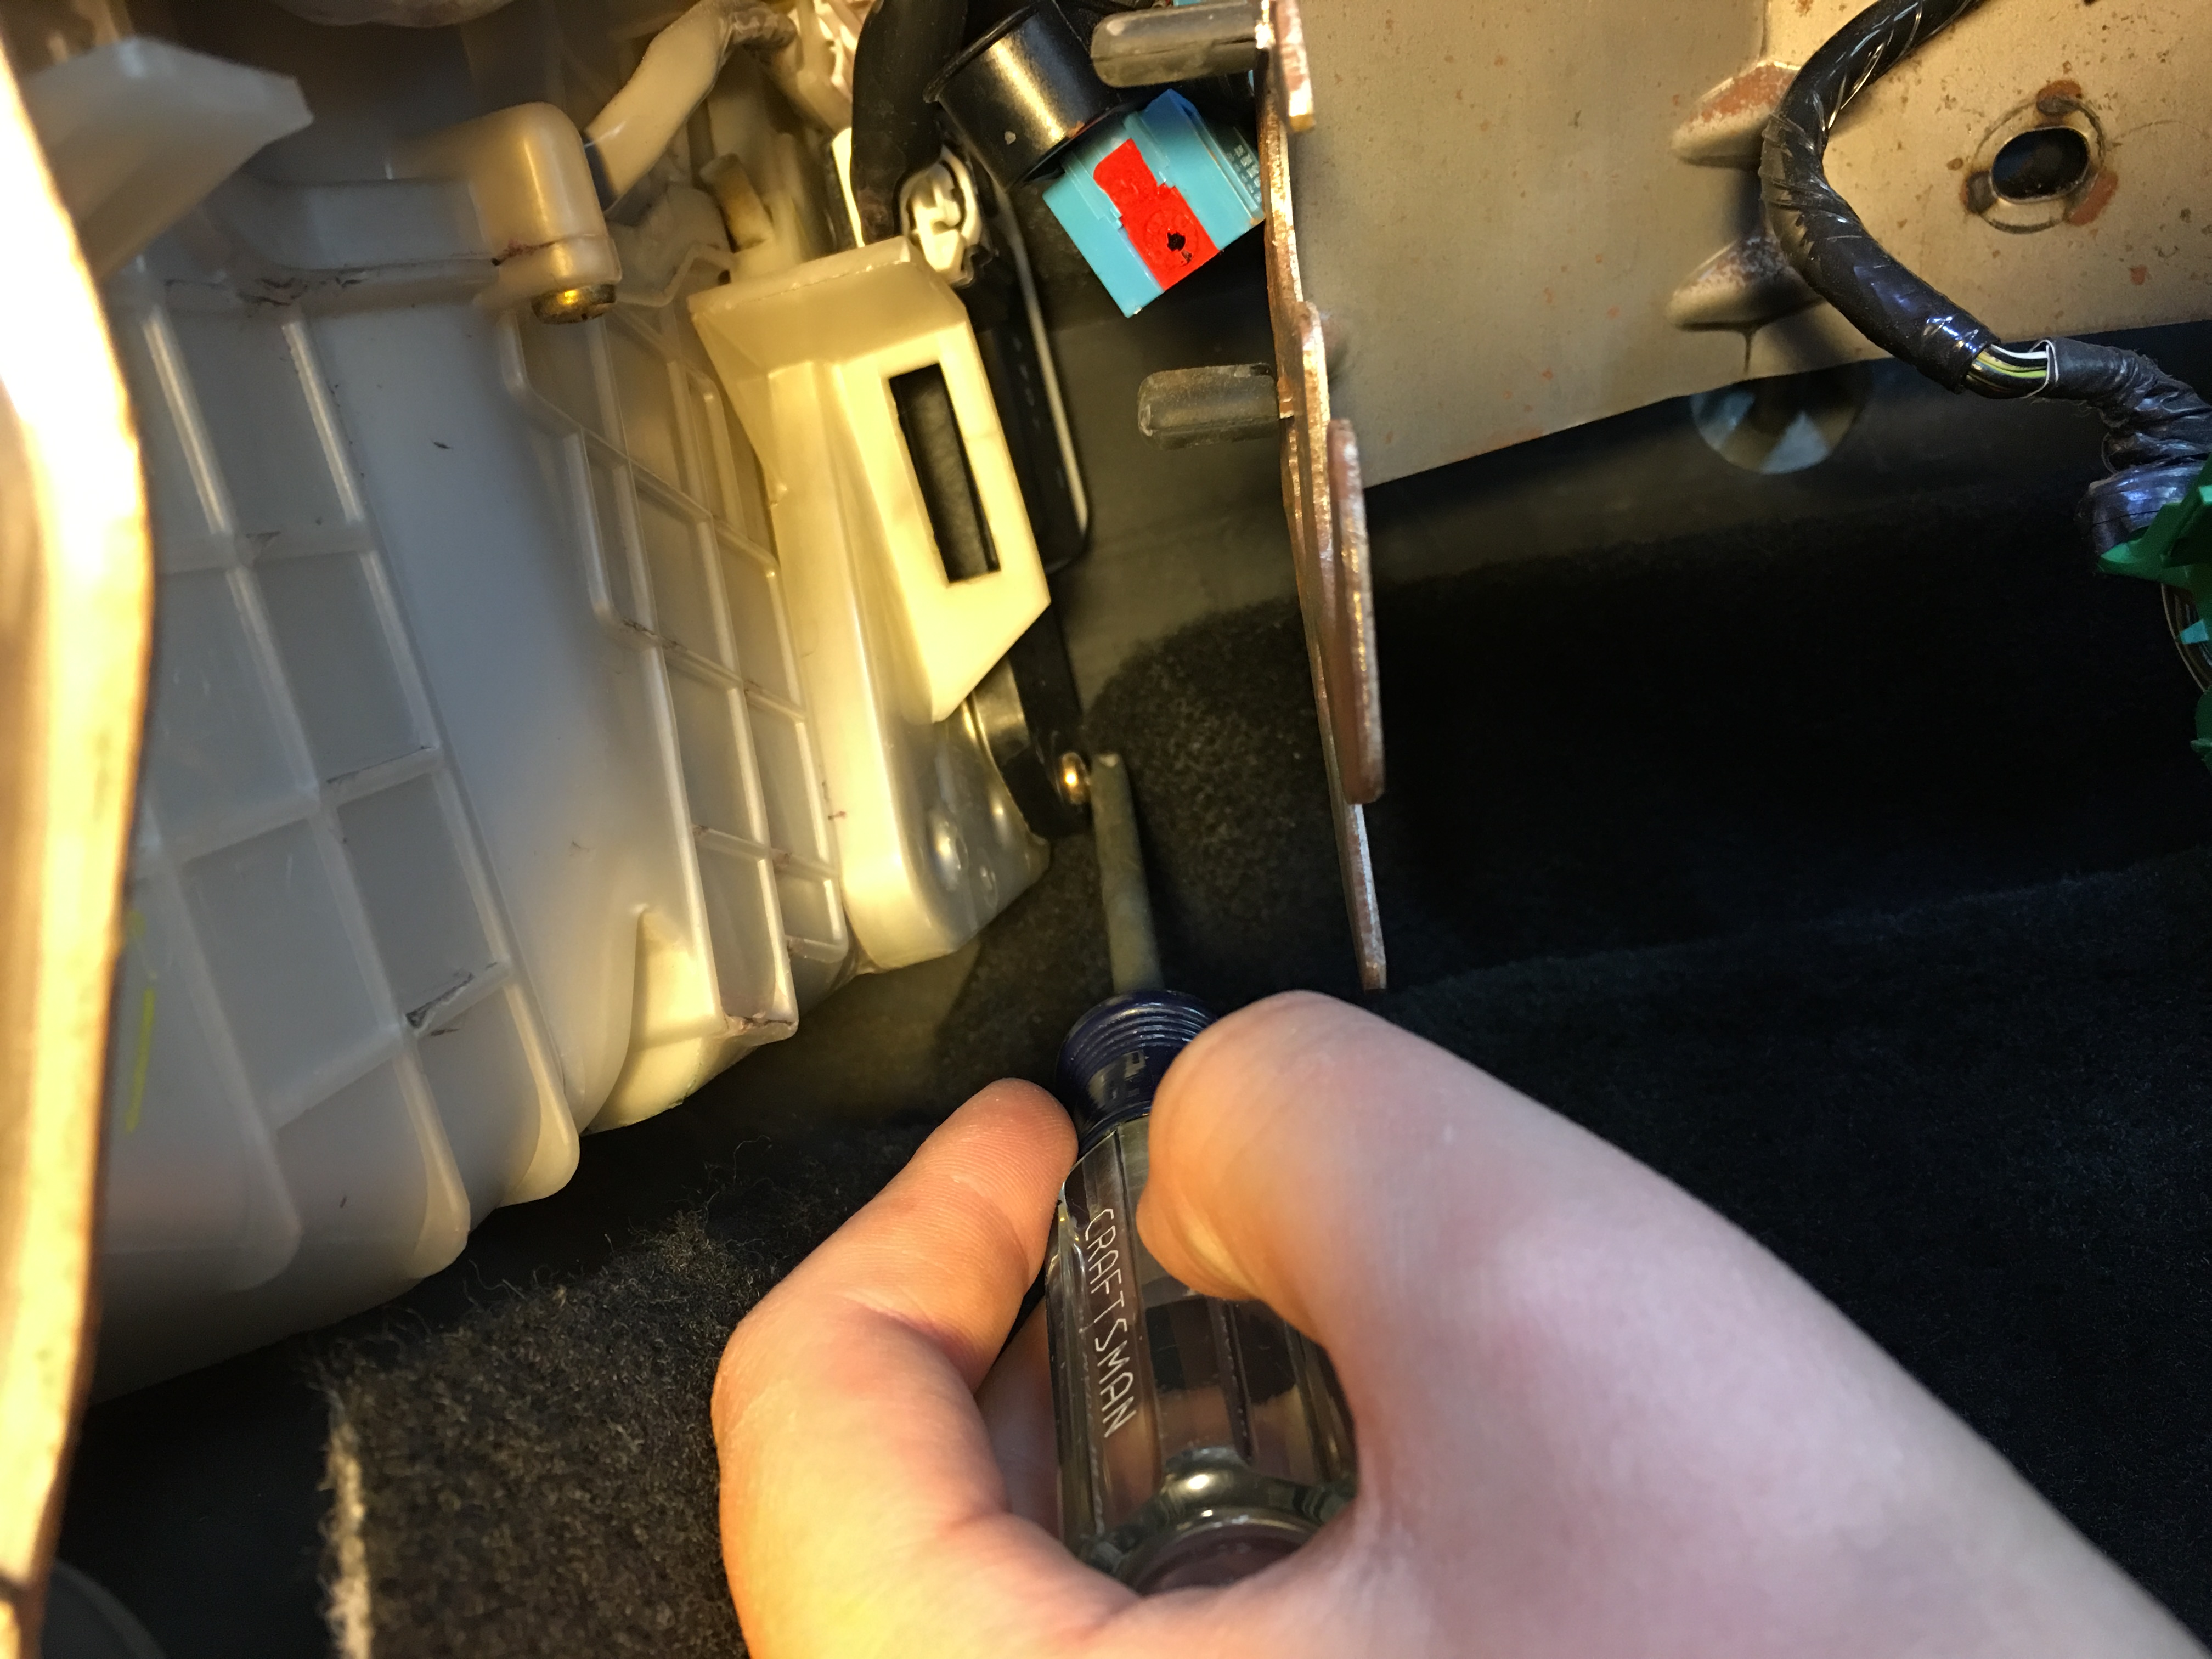
Use the ratchet with the 12mm socket to remove the two nuts from the fuse block bracket. I used two extenders to make removing them easier. There were tightened to about 980 lbs. Seriously, they were pretty tight.
![Image]()
Move the bracket and plugs away from the center console, as that's where we’ll be working next. I found that by removing the gray cable tie (in picture) from the fuse block bracket (with pliers) gives plenty of lee-way to maneuver the bracket and plugs away from the center console.
![Image]()
Remove the two screws holding the black sensor:
![Image]()
Unplug the white sensor connector, move both out of the way:
![Image]()
Remove the 4 screws holding the white plastic cover:
![Image]()
Slide out the bottom cabin filter (there's two, one on top of each other), then slide out the top one that falls after you take out the bottom one:
![Image]()
Here's what the inside looked like BEFORE I cleaned it out with a shop-vac and a windexed cloth:
![Image]()
Here's what it looked like AFTER:
![Image]()
Here are the old filters above the new filters. Yes, folks, I had a tough time believing this. It made it all worth it:
![Image]()
This part was tricky. You have to slide the top filter in first:
![Image]()
Now slide it up, use your magic powers to hold it up, then slide in the bottom filter. Oh wait, I didn't have any magic powers handy! Somehow, I got it anyway:
![Image]()
Now put everything back in the way you took it out and congratulate yourself on a job well done. Here's my only casualty.
![Image]()
Tools needed:
1) Philips head screwdriver
2) Flat head screwdriver
3) Long nose pliers
4) 12mm socket head and ratchet with extenders
5) shop-vac
Here's my replacement filter (I paid $37.35 for it at my local dealership):
Open the glove compartment door:
Remove the plastic trim by pulling up underneath the trim from where the glove compartment door closes. NOTE THE HOOK AT THE RIGHT END OF THE TRIM! Don't expect the trim to first pop off from the right because it first pops out from the area over the glove compartment, then bows out, and carefully pull back to completely remove:
Unscrew the two screws with the Philips head:

I have the navigation system, thus the DVD player in the glove compartment makes this next step pretty difficult. You'll have to first pull out and down from the top of the glove compartment and carefully wiggle out:

Once unlatched, you'll notice the lamp. I unscrewed it out:

There a plastic cover, right above the passenger's feet, that's held up by two tabs. Tough to explain, but too easy to remove. Push the two tabs towards the front of the car, pull down, viola:

There another plastic cover to the feet's left:

Use the flat head to pry the center plug a bit. CAREFUL, don't pry the outside plug or you'll risk scratching everything and not accomplishing anything:

There two twist plugs holding up the fuse box. Give each about 1 turn and the fuse box is loose:
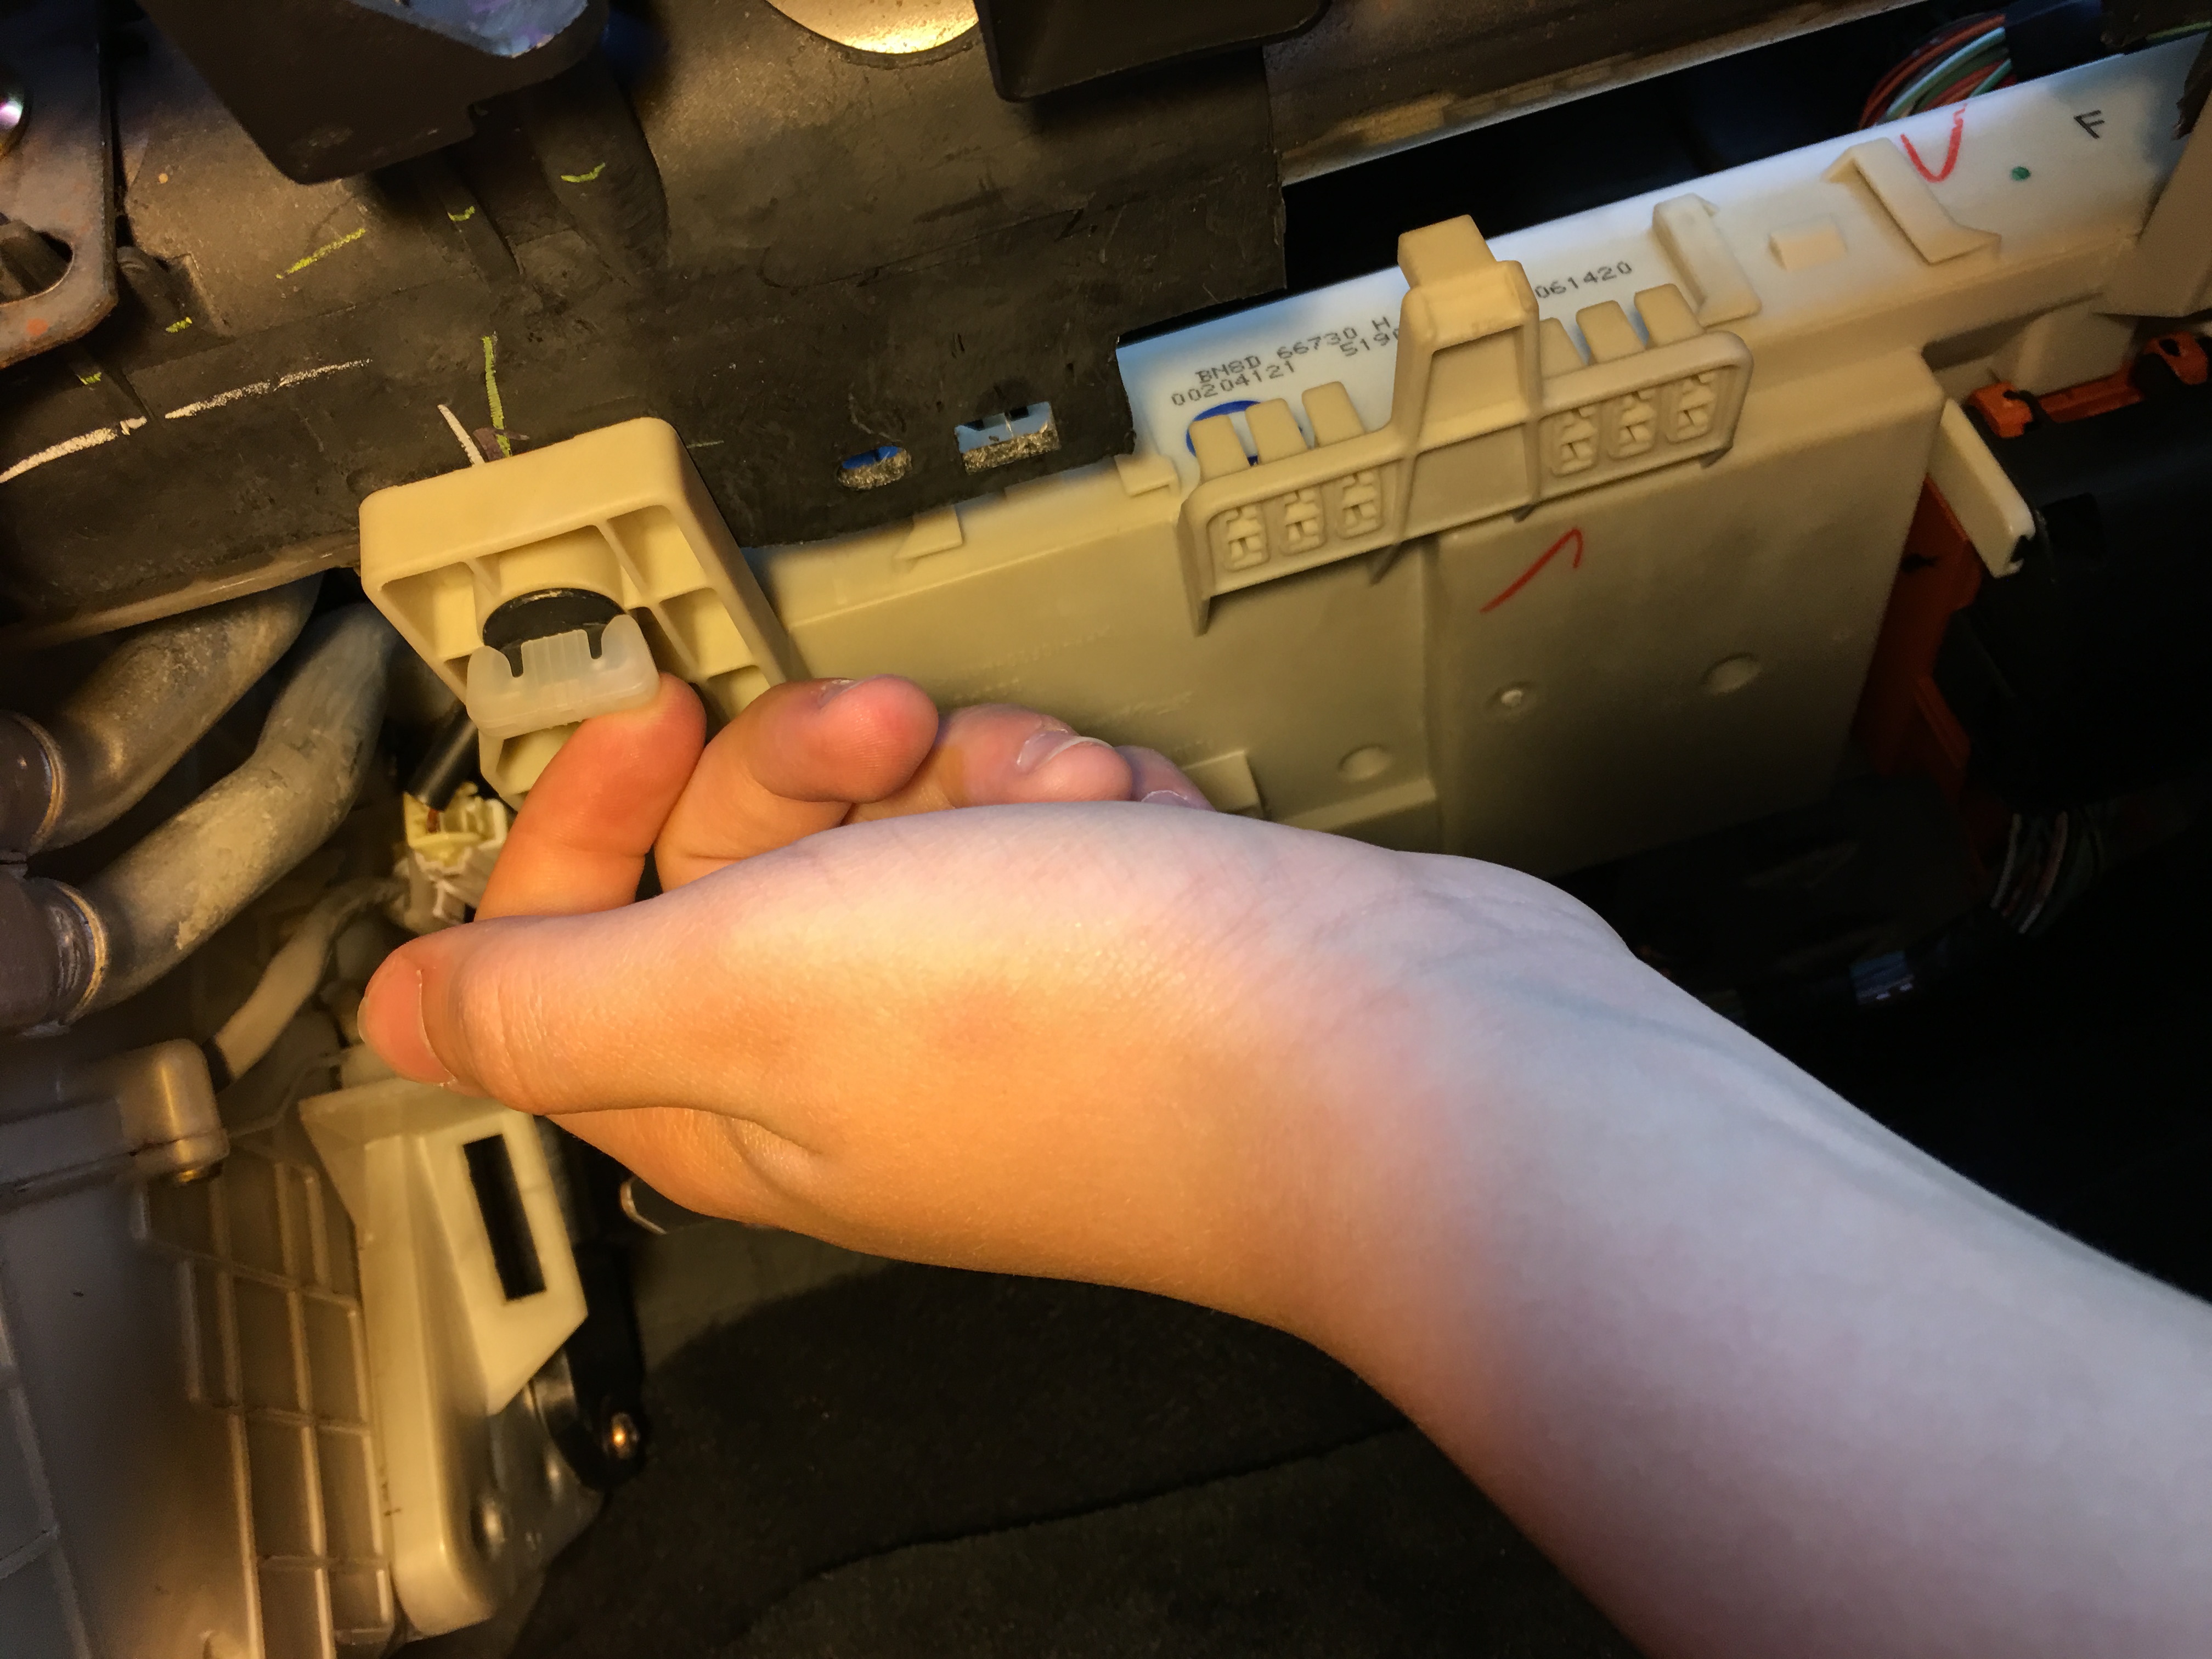
Unplug each of the connectors to the fuse box by turning the black loop by 180 degrees. This was a bit tricky, but once you see how it works, it's a piece of cake to do the rest:

Use the ratchet with the 12mm socket to remove the two nuts from the fuse block bracket. I used two extenders to make removing them easier. There were tightened to about 980 lbs. Seriously, they were pretty tight.

Move the bracket and plugs away from the center console, as that's where we’ll be working next. I found that by removing the gray cable tie (in picture) from the fuse block bracket (with pliers) gives plenty of lee-way to maneuver the bracket and plugs away from the center console.

Remove the two screws holding the black sensor:
Unplug the white sensor connector, move both out of the way:

Remove the 4 screws holding the white plastic cover:

Slide out the bottom cabin filter (there's two, one on top of each other), then slide out the top one that falls after you take out the bottom one:

Here's what the inside looked like BEFORE I cleaned it out with a shop-vac and a windexed cloth:

Here's what it looked like AFTER:

Here are the old filters above the new filters. Yes, folks, I had a tough time believing this. It made it all worth it:

This part was tricky. You have to slide the top filter in first:

Now slide it up, use your magic powers to hold it up, then slide in the bottom filter. Oh wait, I didn't have any magic powers handy! Somehow, I got it anyway:

Now put everything back in the way you took it out and congratulate yourself on a job well done. Here's my only casualty.

")


