

Alright, just finished up the VTCS. What a PIA. Taking it off... not too bad. Getting the center bottom bolt back in total PIA. I spent well over an hr on this one bolt!!! On To the write up
First you need to locate all 8 bolts that hold the Manifold to the block.
![Image]()
the two brown one on the left and the 6 blue on the center and right
From Left to right top to bottom respectfully here is the pictures for each bolt
Far left above TB
![Image]()
Below TB
![Image]()
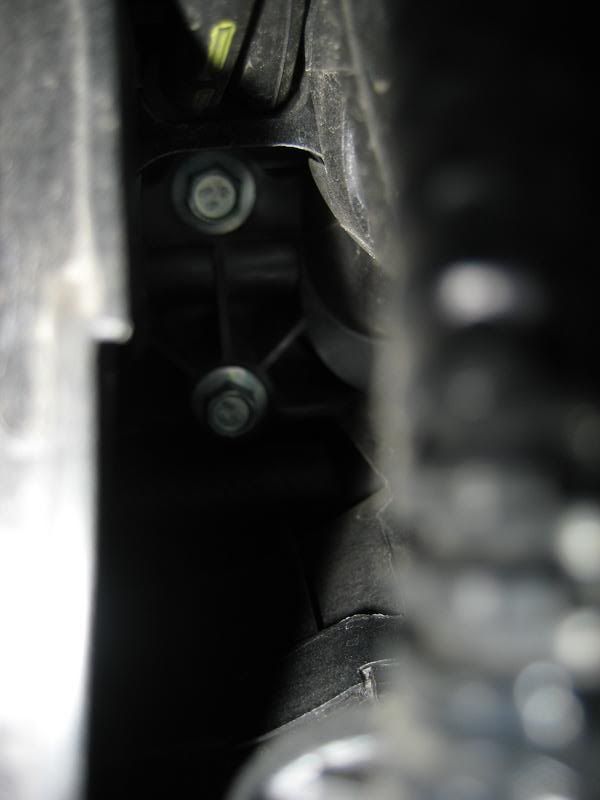
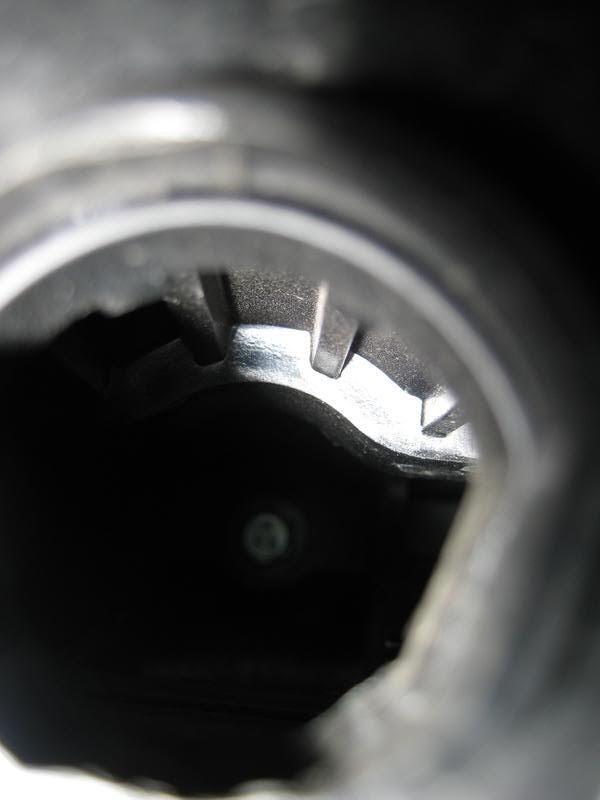
The next set with one on top of the other
![Image]()
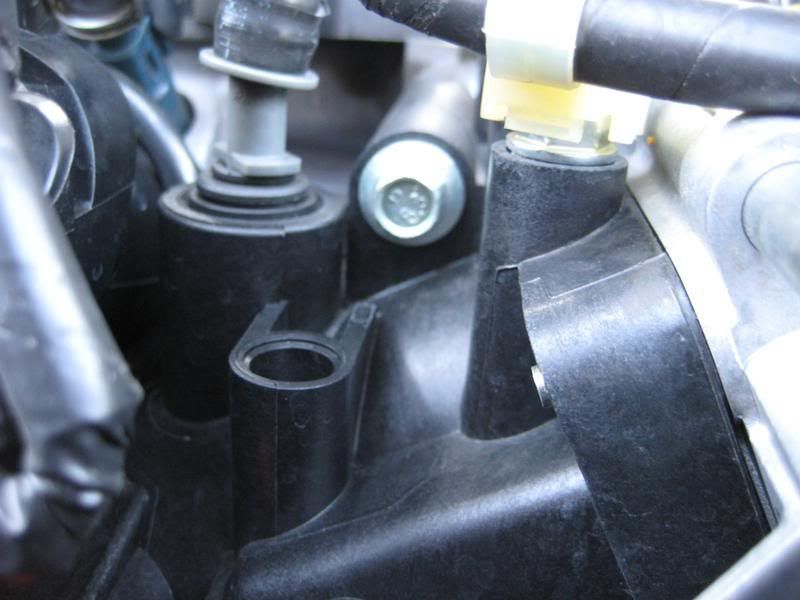
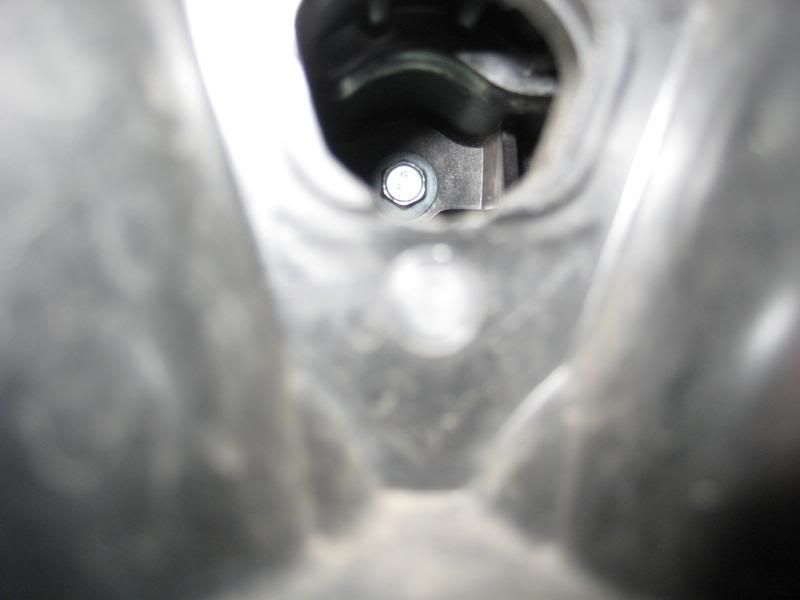
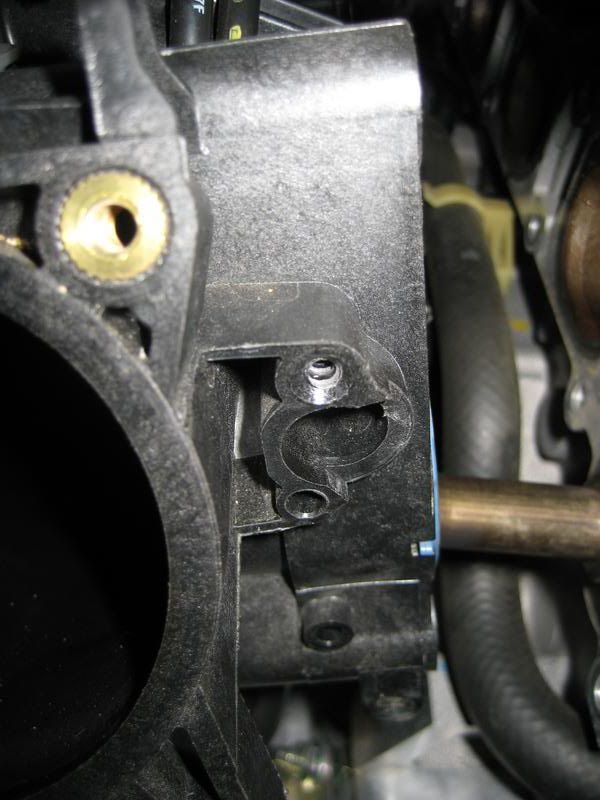
The bitch in the middle
![Image]()
![Image]()
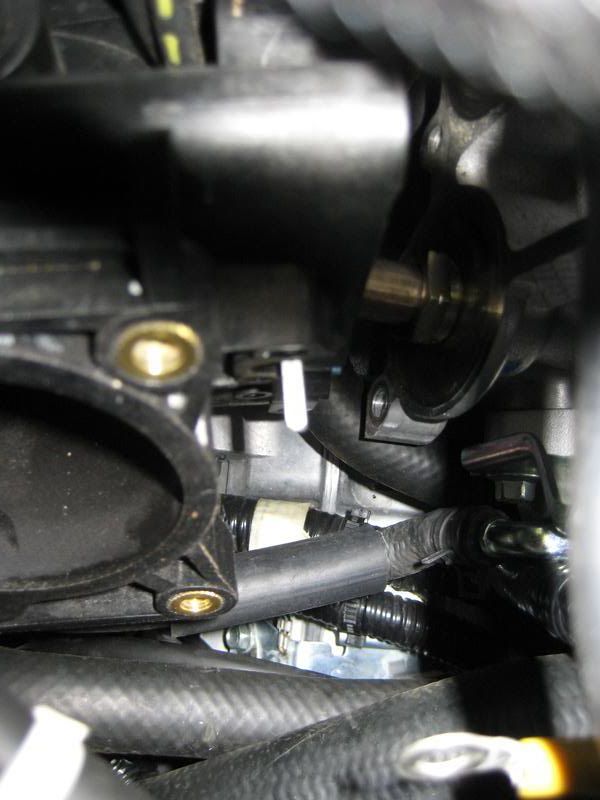
The one on the bottom was hard to take a picture of b/c it was so dark. But you can't see it anyways so a picture does you no good. To find this bolt take you arm and extend it parallel to the 3rd intake port to the left of the TB. Go straight down from there and you should be able to feel it.
Top right of picture
![Image]()
Bottom Right of Picture (smaller one on the right of this picture)
![Image]()
I loosened all these first to make sure I could get the manifold off first.
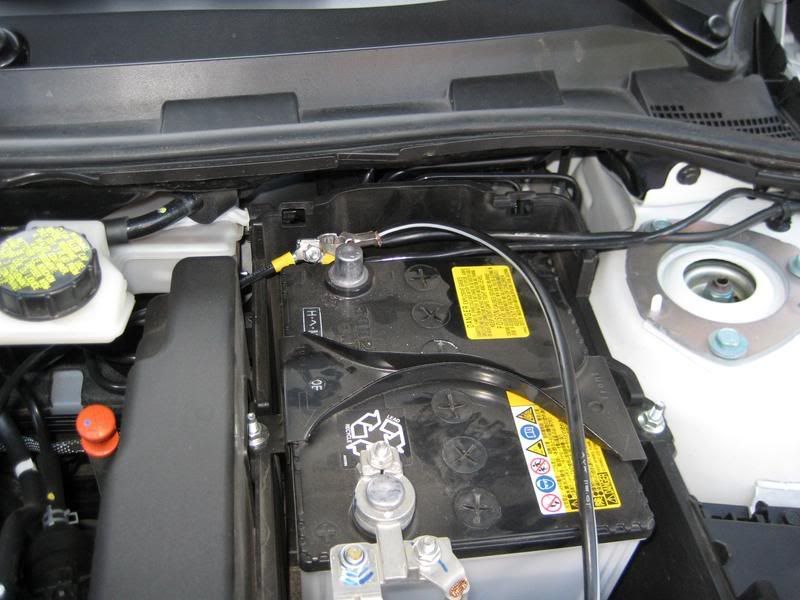
Then I discounted my battery
![Image]()
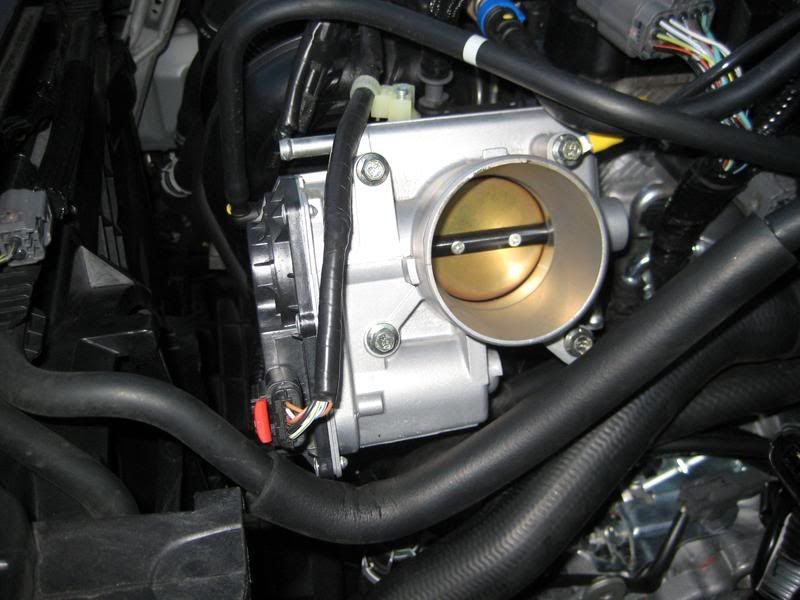
Then I went back and uninstalled my intake.
![Image]()
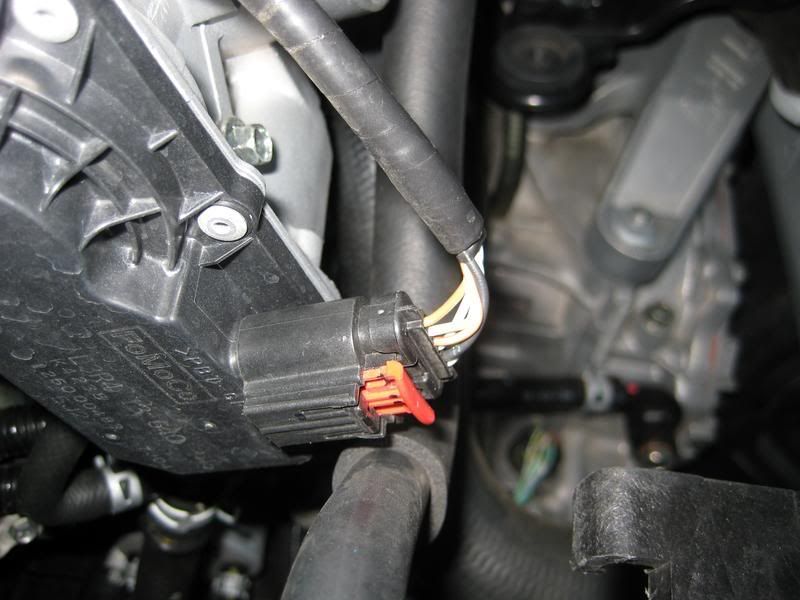
Then unclip the red connector to the TB
![Image]()
![Image]()
![Image]()
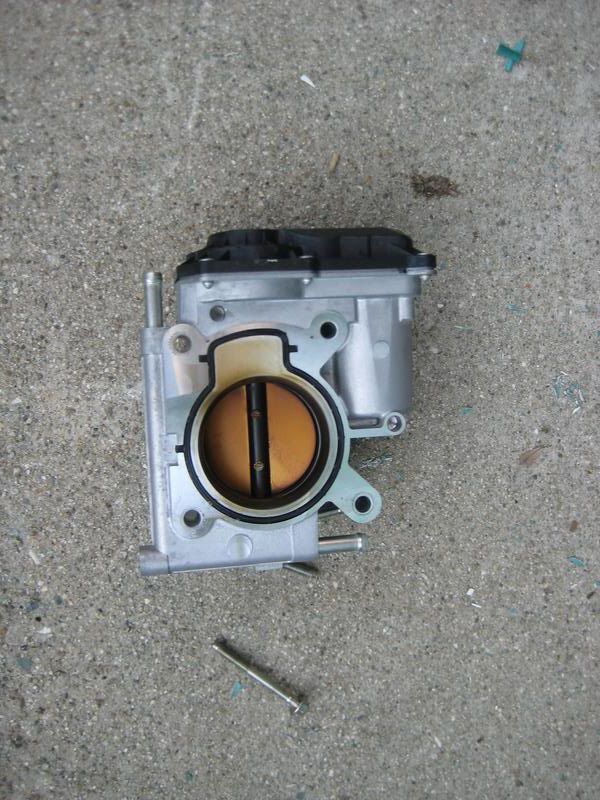
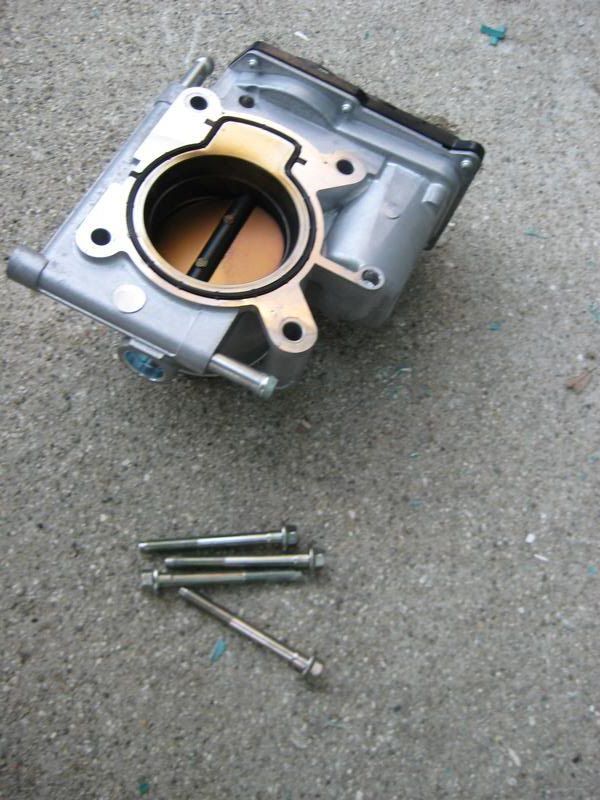
Proceed to loose and remove the 4 bolts around the TB
![Image]()
![Image]()
![Image]()
Next locate the VTCS solenoid to the backside of the TB
![Image]()
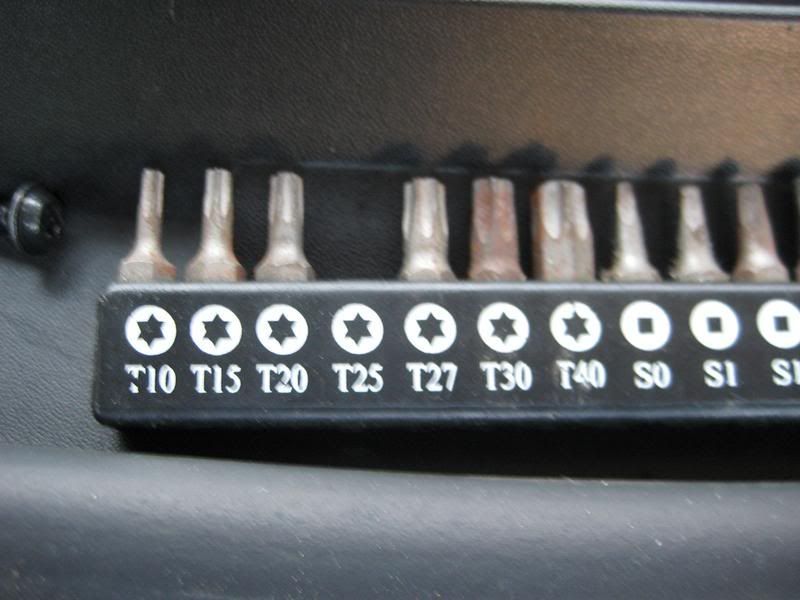
Using a 25 Torex
![Image]()
Remove the two screws on the top left and bottom left (under the tb)
![Image]()
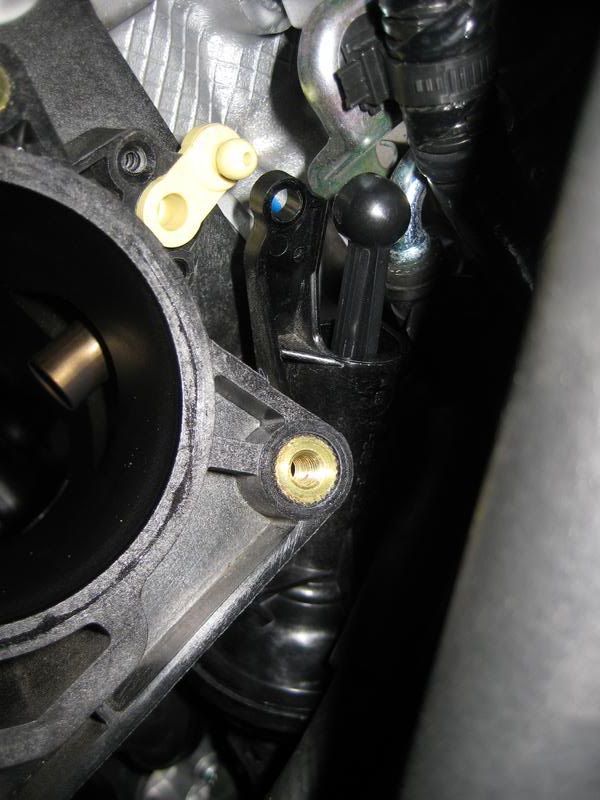
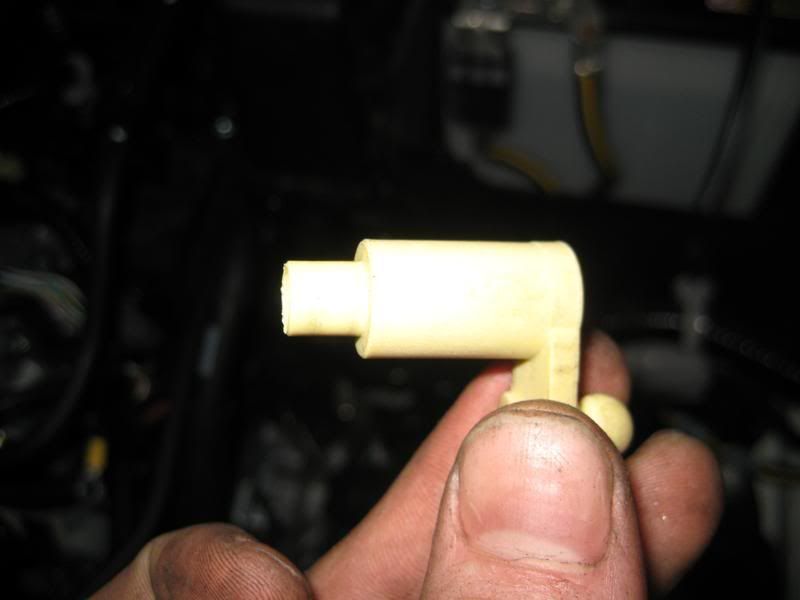
Then take a thin flathead and pry off the round piece off the white ball.
![Image]()
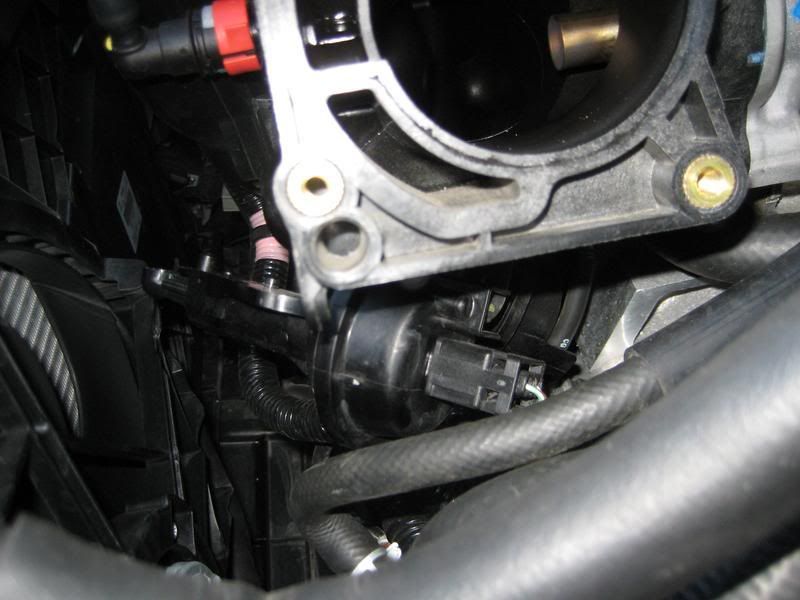
Go ahead and push the solenoid to the side or under the manifold
![Image]()
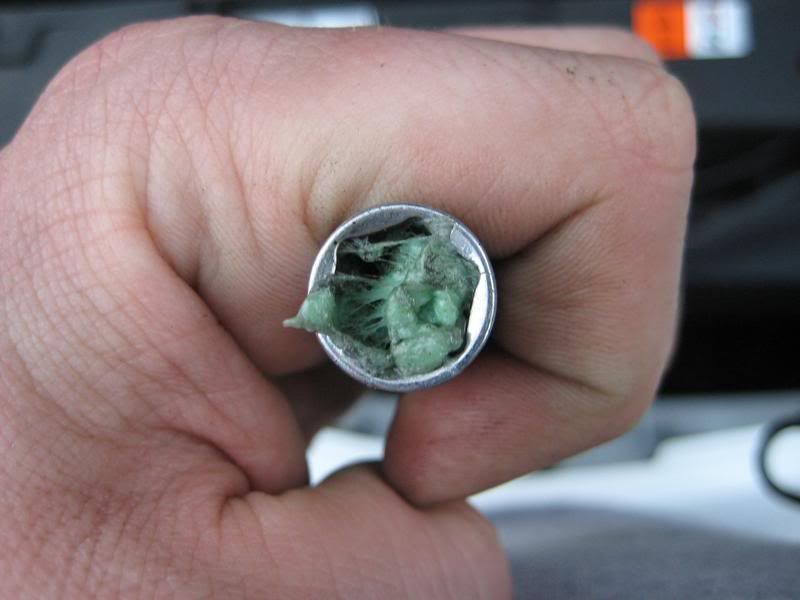
Now it's back to the Manifold.
I used Gum in the socket to make sure I didn't loose any bolts. I didn't have a magnetic drive/extension so this was my second choice.
![Image]()
![Image]()
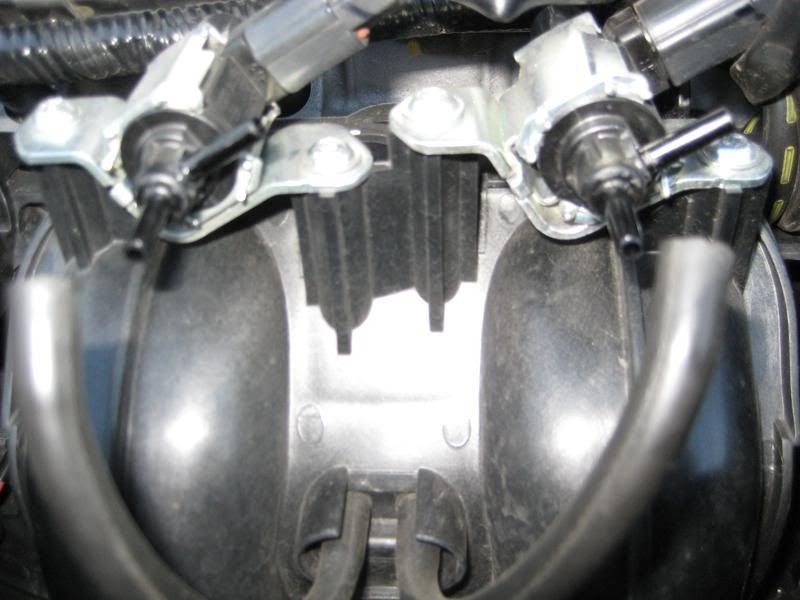
Locate this on the front of the manifold in the middle and remove all four hoses and both electrical connections
![Image]()
![Image]()
The wire that is running on top of this bracket needs to be pulled out. See below
![Image]()
Next go ahead and remove all the bolt that you loosed already.
Two from the TB area
![Image]()
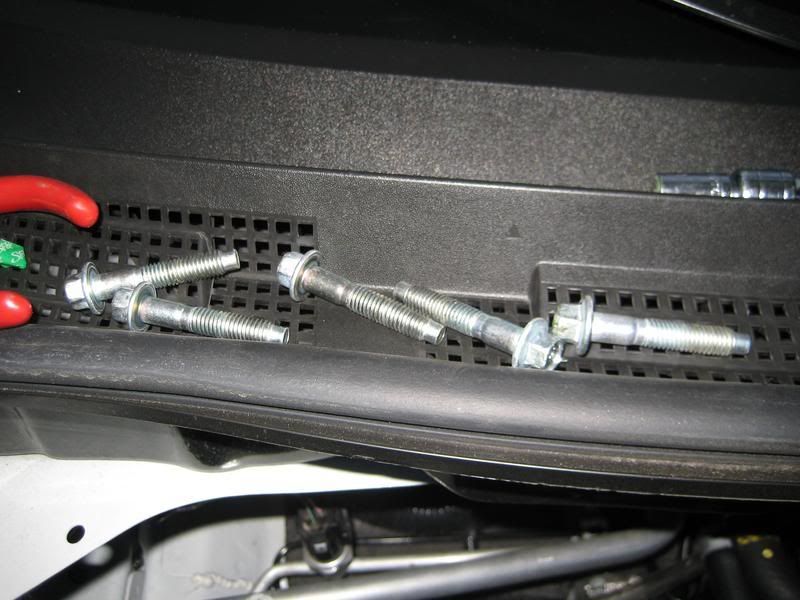
6 from on the manifold it's self and the one on the bottom
![Image]()
Once you take out all the bolts the manifold will fall off
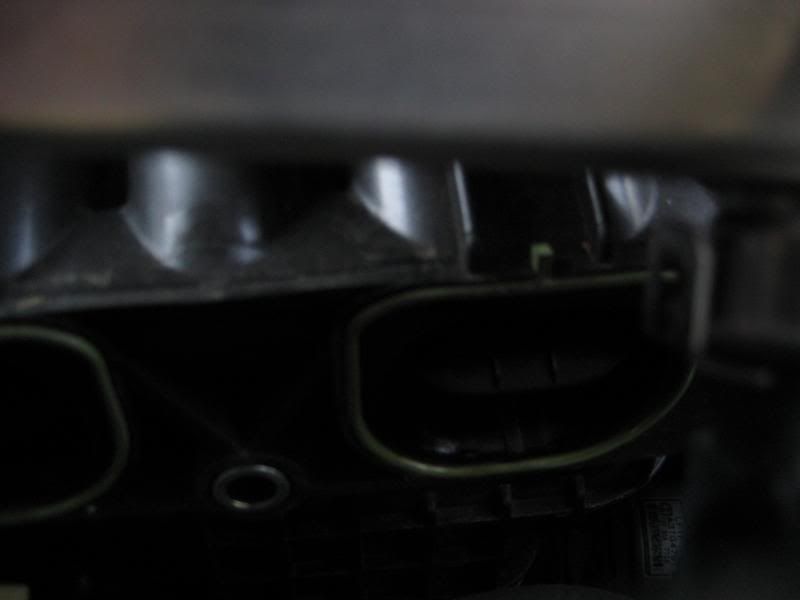
Inside if you look you'll see the VTCS
![Image]()
![Image]()
First remove the green rubber "gasket" pieces.
![Image]()
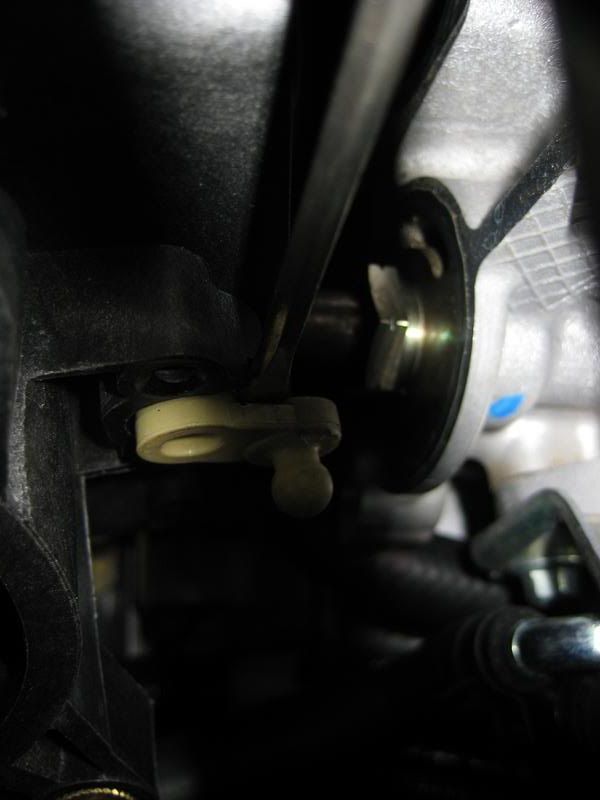
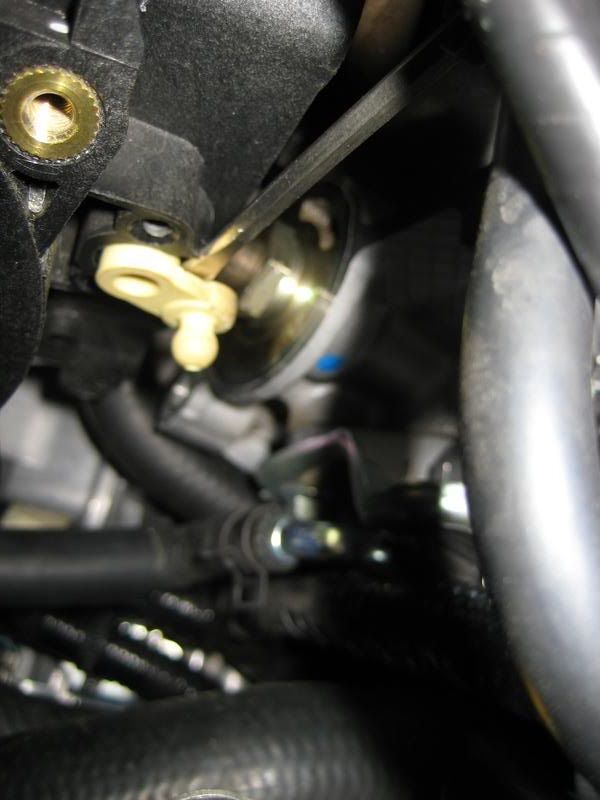
Then with needle nose pillars or a flat head again pry off the white "ball" locate under the VTCS solenoid
![Image]()
![Image]()
![Image]()
![Image]()
Then using your needle nose pillars put them in the hole you see above and pull out the long square rod.
![Image]()
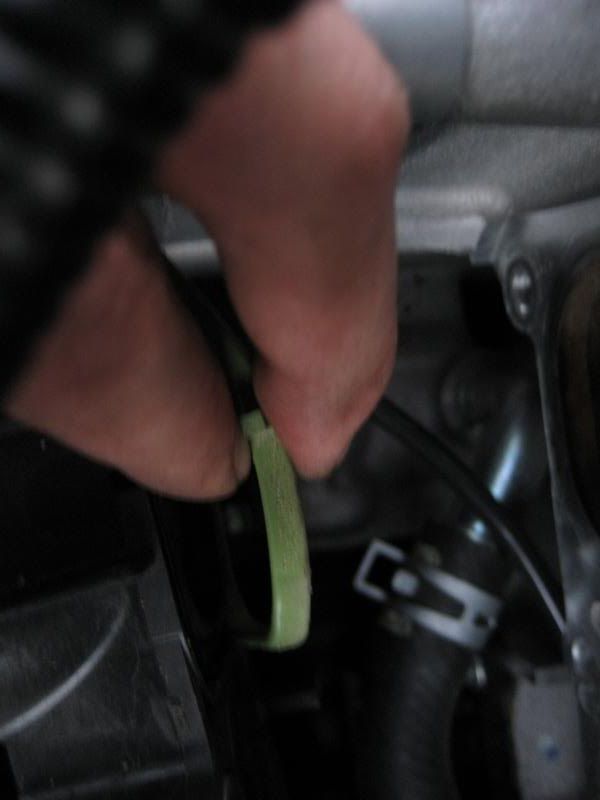
Once it's completely out take the Green things in the first picture
![Image]()
Prying them apart easily pull out the butterfly.
![Image]()
Not so easy....
![Image]()
Lucky it doesn't matter too much. Put it back in and slapped the gasket on their and you'd never know it broke =)
Then go ahead reinstall these and put the green gaskets around them back in.
Put the white ball piece back in and attach it to the VTCS solenoid.
Put the manifold back on. I would suggest putting the bolt for the middle on in first before it's even pushed back to the engine block.
Reinstall everything you took out and reconnect the battery and enjoy.
=)
First you need to locate all 8 bolts that hold the Manifold to the block.
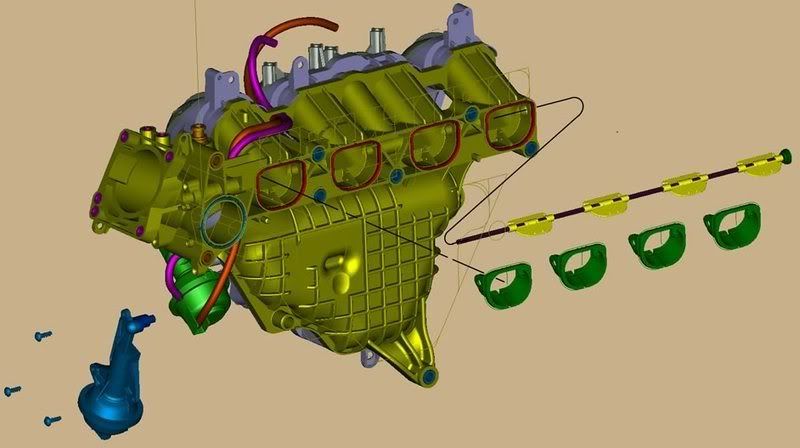
the two brown one on the left and the 6 blue on the center and right
From Left to right top to bottom respectfully here is the pictures for each bolt
Far left above TB
Below TB
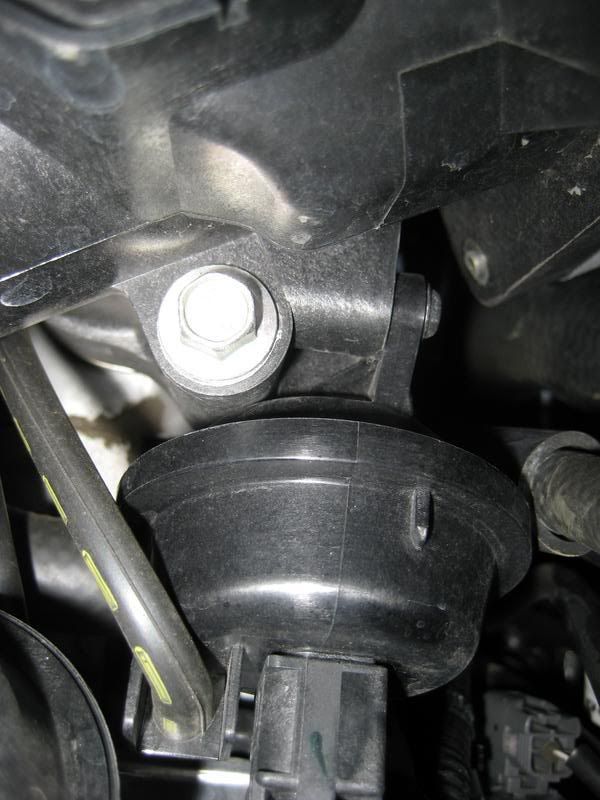
The next set with one on top of the other
The bitch in the middle
The one on the bottom was hard to take a picture of b/c it was so dark. But you can't see it anyways so a picture does you no good. To find this bolt take you arm and extend it parallel to the 3rd intake port to the left of the TB. Go straight down from there and you should be able to feel it.
Top right of picture

Bottom Right of Picture (smaller one on the right of this picture)

I loosened all these first to make sure I could get the manifold off first.
Then I discounted my battery
Then I went back and uninstalled my intake.
Then unclip the red connector to the TB

Proceed to loose and remove the 4 bolts around the TB

Next locate the VTCS solenoid to the backside of the TB

Using a 25 Torex
Remove the two screws on the top left and bottom left (under the tb)
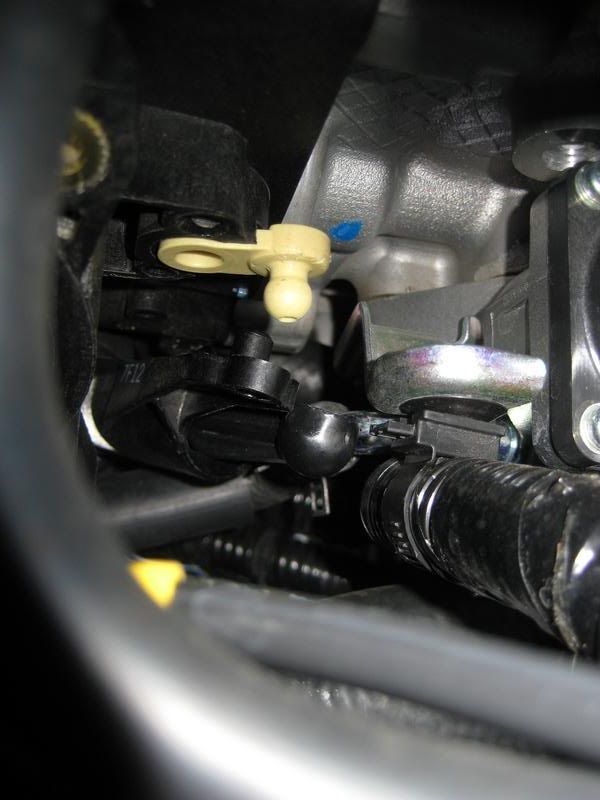
Then take a thin flathead and pry off the round piece off the white ball.
Go ahead and push the solenoid to the side or under the manifold
Now it's back to the Manifold.
I used Gum in the socket to make sure I didn't loose any bolts. I didn't have a magnetic drive/extension so this was my second choice.

Locate this on the front of the manifold in the middle and remove all four hoses and both electrical connections
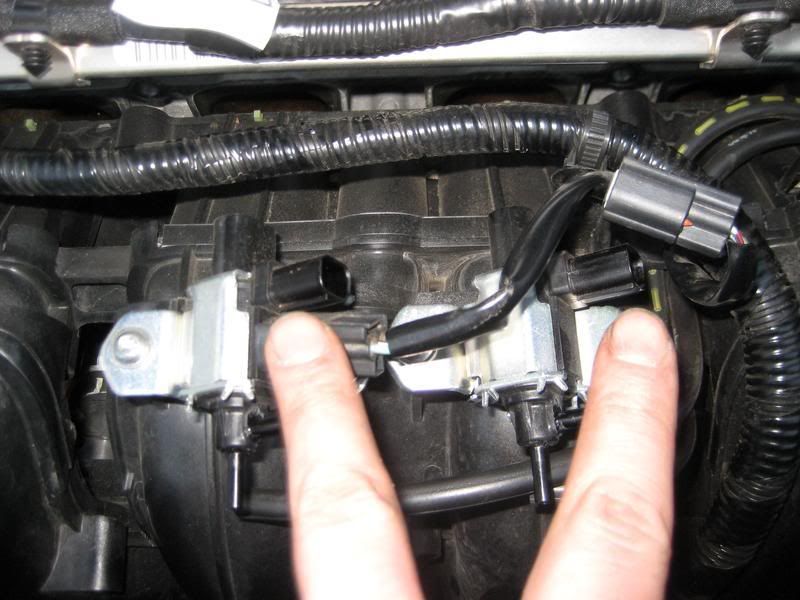
The wire that is running on top of this bracket needs to be pulled out. See below

Next go ahead and remove all the bolt that you loosed already.
Two from the TB area

6 from on the manifold it's self and the one on the bottom
Once you take out all the bolts the manifold will fall off
Inside if you look you'll see the VTCS
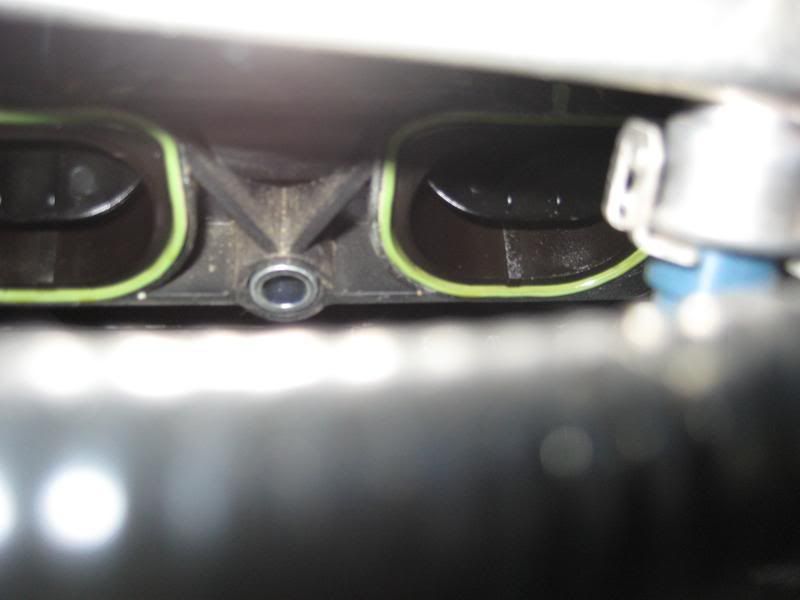
First remove the green rubber "gasket" pieces.
Then with needle nose pillars or a flat head again pry off the white "ball" locate under the VTCS solenoid
Then using your needle nose pillars put them in the hole you see above and pull out the long square rod.
Once it's completely out take the Green things in the first picture
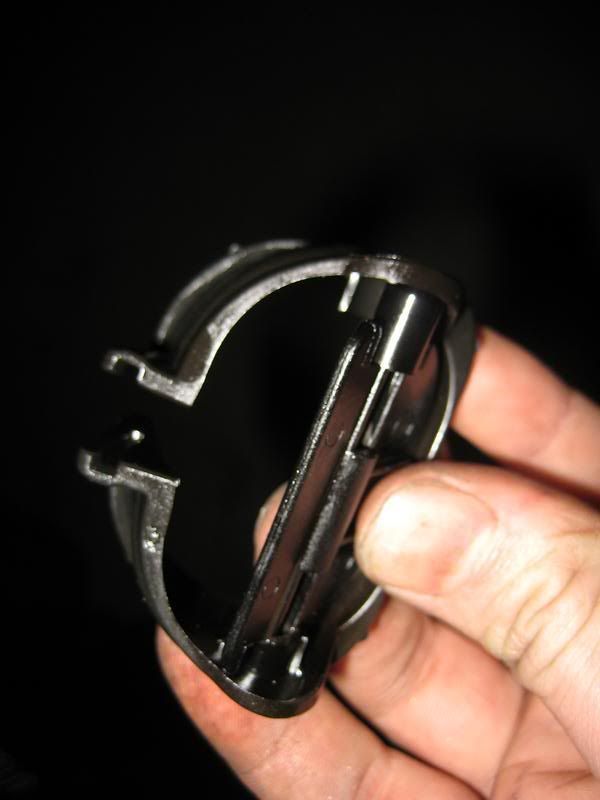
Prying them apart easily pull out the butterfly.

Not so easy....

Lucky it doesn't matter too much. Put it back in and slapped the gasket on their and you'd never know it broke =)
Then go ahead reinstall these and put the green gaskets around them back in.
Put the white ball piece back in and attach it to the VTCS solenoid.
Put the manifold back on. I would suggest putting the bolt for the middle on in first before it's even pushed back to the engine block.
Reinstall everything you took out and reconnect the battery and enjoy.
=)


